homeAbout UsTeachingPartiesFor the HomeFreebies

Saturday, October 15, 2011

New Halloween Packet

So, ok, I just barely finished my HALLOWEEN SONGS & GAMES packet for the shop by the light of the Halloween moon!  My little one has been VERY sick and I didn't think I was going to finish it.  Noah has an upper respiratory virus and we were sent home from the doctor this morning with a breathing machine...ugh!  Let's just say I was one scared Mommy today!  My child has a hard time slowing down because he has a humongous amount of energy.  So, we decided if we gave Noah his Halloween present early, we could convince him to sit still.   So, tonight, as we watched "Spooky Buddies," I had time to get it done!  Super cute movie, by the way! :)


This monster packet is 37 pages long and consists of...

This is just a sampling of the files you'll find inside.

As we introduce this new packet into the shop, we're having a
For 5 DAYS ONLY, prices will be SLASHED {sorry to sound like a commercial for used cars on Halloween}, to 15% off.  Click the flickering jack-o-lanterns to take a look...your Halloween fun awaits!  

Photobucket

Friday, October 14, 2011

Spooktober Feebie & Giveaway

Hello, my Little Pretties {insert your best witchy cackle here}!  Are you enjoying our Spooktober so far?  I hope so!  Today, I have a couple of spooky fun things for you!  Are you planning a Halloween party for your classroom or your family?  If so, you may be in need of a little easy decor!


So, as a little Halloween gift for all our "boo"tiful readers, you can download my LIL' BOO Circle Tags free by clicking on the picture below.  There are three different designs perfect for a cute, not scary Halloween shindig for all those little monsters!  **Just click "file" and then "download".

Need more than just circle tags?  My entire LIL' BOO Collection consists of the following PDF printable files...

  • Fil-in Invitations
  • 2" Circle Tags
  • Napkin Wraps
  • Flat Food Tags
  • Tent Food Tags
  • Cupcake Wrappers
  • Favor Tags
  • Banner {"Spooky"}
  • Pennant Candy Corn Banner
  • 5" Circle Tags


One lucky reader can win the entire digital collection today!  
{Here's how to enter}...

1. Make sure you are a follower of our blog & tell us that you are.

2. Tell us what your favorite Halloween candy is.

3.  Tell us if you're going to dress up this year and if so, what you're dressing up as.  If you have little ones, we would love to hear about their costumes as well!  

***The more times you comment, the more chances you have to win!  This giveaway will be open only during the weekend, so until Sunday evening (10-16-11) at 10:00 pm EST.  The winner will be  announced first thing Monday morning (10-17-11)!  

Good luck, my little Spooks!  

Photobucket

Thursday, October 13, 2011

Today's Spooktober Guest ~ Getting Messy with Ms. Jessi


Hi there! My name is Jessi and I blog over at Getting Messy With Ms. Jessi.  I am a preschool teacher, a mommy and a lover of doing lots of upcycling!  I blog about all the fun adventures I take my preschoolers thru and show teachers and parents alike how to make great games, art projects and activities on a (really tiny) budget.  I was super excited when Frogs, Bees and Under the Seas asked me (and others) to be a guest blogger!  It's my first!  Yay!

With Halloween coming around soon we have begun to "decorate" our classroom with Halloween and fall items.  Today I'm showing you how to make super cute spiders from film canisters!  I know, I know nobody uses those "old fashioned" cameras anymore but you never know when you'll come across a gaggle of these!


I started with canisters and then drew out lines (with a white pencil) on black construction paper, about 1/2" thick for the kids to cut.
Great cutting practice!
Counting eight legs and then splitting them was a great lesson!
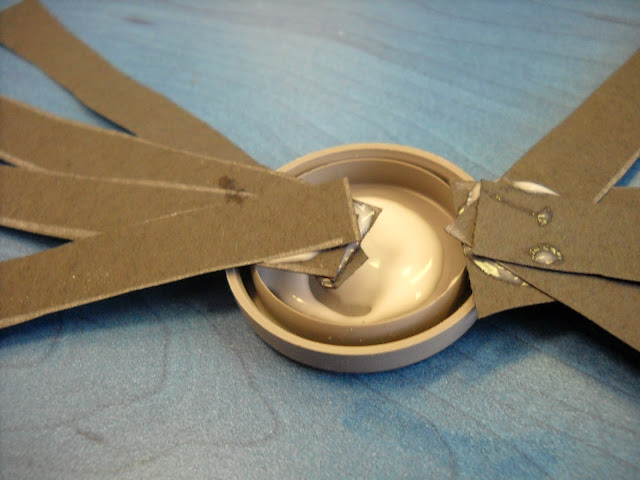
We glued each set of four legs together and then glued the two inside the lid.
Meanwhile...or if you're thinking ahead of time (unlike me!) poke a small hole in the bottom of the canister to thread fishing line thru. 

Next, push the lid on the canister.  It will be a VERY tight fit.  Bend the legs down and add googley eyes!
I hung them up in front of some marble painted "webs" we made earlier.  SPOOKY! Even a little Kooky! 


I love art projects with film canisters!  Wondering where to get these little babies...try Walmart or Walgreen photo departments!  I've had luck there. 

Thanks so much, Jessi!  This is a spider-rific idea!  Crawl on over to Getting Messy with Ms. Jessi & see the other awesome tips she can give you! :) 

Wednesday, October 12, 2011

Today's Spooktober Guest ~ First Grade O.W.L.s.

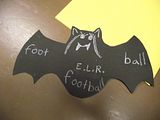
Hi everyone!  Nicole, here from First Grade O.W.L.s.  I am so excited to be a part of the Spooktober Celebration at Frogs, Bees and Under the Seas!  There are so many fun, spooky activities to do in October.  I thought I would post about something that incorporates a little learning and also decorates your classroom for this spooky time of year.  I took a bat pattern and traced it onto black construction paper.  Here is a bat pattern I found online.  You may need to enlarge it a bit.  We just finished learning about compound words so as a class we made a chart full of compound words. Then, students wrote a compound word on the bat's belly and the two words that make up the compound word on the wings.  It ended up looking like this:

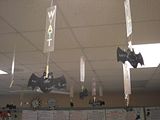
We wrote a compound word on the front and the back of the bat and then we hung them from the clips on the ceiling to make it look as if our room is full of flying bats ~ compound word bats that is! 


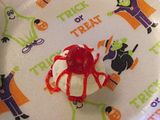
And I just have to share this last little treat. Last year my class made edible eyeballs!  They are SO simple and my class thought they were SPOOKTACULAR!  Here is how you make them.  First take a white powdered donut.  Then place a gummy life saver on top in the center.  Use a little red gel icing to make it look bloodshot and there you have it!  Here is a picture of one of our eyeballs:


I want to thank Frogs, Bees and Under the Seas for inviting me to take part in this fabulous celebration.  I am enjoying all of the awesome ideas!   


Nicole, those bats are so cute, it's SCARY!  Lovin' the eyeballs too!  Thanks for joining our Spooktober party!  Fly on over to First Grade O.W.L.s. for much more inspiration! :)  

Tuesday, October 11, 2011

Today's Spooktober Guest ~ A Teeny Tiny Teacher

I am over the harvest moon that the lovely ladies at Frogs, Bees, and Under the Seas asked me to be a guest blogger for their Spooktober series.  Let's get started!!!!


You may not know me . . . so I should give you a quick (ha!) background.  I work at a great school with amazing teachers.  We grew 20 something points on our AYP and API and CBS and HGTV and MTV and all of that this year.  Hooray!  Let's keep doing what we're doing, right?  . . . Right?  . . . Hello? . . .   Is this thing on?
NOPE.  Let's change everything.  Let's go with this district-wide-mandated-fidelity-to-the-core-curriculum-holier-than-thou-situation and use only the approved materials and don't even think about using that cute thing you saw on Pinterest or this here blog.  NO.  They said NO. (insert stiff shake of the head with squinty eyes)
It's been a bit of a rough start.  (Rough meaning I may have thrown a hissy fit here or there, or cried on this occasion or that one)  My minutes are accounted for.  Really.  And the Curriculum Cops wait outside my door just dying to handcuff me and take me to Curriculum Prison where "fun in school" goes to die.
And then my wonderful friend, Heather, showed me her Scarecrows.  So cute.  So artsy.  So fun.  UH OH.  Here come the cops.  I take it all back!!
Or . . . wait a minute.  Let's call these little critters GEOMETRY SCARECROWS.  Yes.  YES!  This is MATH.  Yep.  Scoot on out of here, Curriculum Coppers.
There are several ways to accomplish this.
1.  Make patterns.
2.  Kids freehand it.  (Wow - you are BRAVE)
3.  Copy the patterns onto construction paper using a machine.  (It's okay.  I am not lazy.  I was just pressed for time.)
4.  Use scrapbook paper.  (I wanted to do that but see number 3.)
5.  Use a glyph.  (Thought about it, but again, please reference number 3.)
Here's how the little guy (or girl) turns out:

If you need patterns, click {HERE}.
And lastly, here is a pic of my bulletin board.  I was going to ask if you thought it looked cute . . . but instead, I will ask:
Can you count all the squares?  How about the triangles?  If you added the rectangles and the circles together, how many would you have?

On a side note, this bulletin board was the absolute cutest thing in my head.  I even drew it on paper during Bible Study the other night.  (it was more of a doodle while I was listening very intently to the discussion)  When I got the fence posts (or stakes) up, it was too cute.  The little grass around the bottom made my day.  And then it came time to get those scarecrows up.  And they just TOOK OVER.  No crows will ever come near that field, let me tell ya!  I still have 4 more that I have to squeeze in somewhere because 4 of my boys were absent.  I would have added leaves and pumpkins and a sun but I am waiting on those 4 other little guys.  SO!  Lesson learned.  I have two other huge bulletin boards that I could have done this on . . . but I already had ideas for those.  So I used my smallest board.  I am truly bright.  A forward thinker.  Oh well.  The kids LOVED it and that's all that matters.   Most of the time, anyway.  :)

By the way, I think the Curriculum Cops moved over to the second grade building.
Thanks for joining me!  And a special thank you to Jennifer, Heather, and Daphne for inviting me over here.  I had so much fun!

A Teeny Tiny Teacher


These scarecrows are "spook"tacular, Kristin!  Thank you so much for being our guest today!  Please go pay a visit to The Teeny Tiny Teacher...you won't be disappointed!  :)  

Monday, October 10, 2011

Today's Spooktober Guest ~ Creating & Teaching

Hi! I'm Erin from over at Creating & Teaching. I am so excited to be a part of Spooktober here at Frogs, Bees, & Under the Seas, one of my favorite blogs! In case you've never visited my blog before, I try to focus on 3 main types of posts: crafts, baking, & of course, TEACHING! Fall & Halloween are 2 of my favorite times of the year. There is so much creativity out there and so many yummy pumpkin recipes to bake! To go along with the theme of my blog and the theme for Spooktober I'd like to share 1 Halloween craft, 1 pumpkin recipe, and 1 Halloween themed teaching freebie with you today!

How many cute and adorable Halloween decorations have you seen out there this year? SO MANY! And so many of them are super easy to make. I was inspired by the colors and signs I had seen to make this for my classroom door. (Click the link for details)


I have recently pinned so many pumpkin recipes to my Pinterest board. After pinning this one 3 times, I had to give it a try! (Click the link for details) Next up... pumpkin monkey bread!


And last, but certainly not least, a Halloween freebie! My kiddos and I will be having fun exploring pumpkins for 2 whole weeks and I can't wait! We will be using these letter pumpkins and small bat for an alphabet identification game.


I will put the pumpkins in a pocket chart and hide the bat behind one of them. Students will come up one at a time, identify a letter and pull it from the chart to see if the bat is there! We did this with apples & a worm & they loved it. There were times we seriously went through the WHOLE alphabet before finding the worm!

You can download them for free on either my TpT store, or Teacher's Notebook store, whichever one is your preference! :)  
I can't wait to see more awesome web posts for Spooktober! Thanks Frogs, Bees, & Under the Seas for putting this all together and for asking me to be a part of this!!   

So many MONSTERrific ideas, Erin!  Now, which one to work on first? Hmmm!  Thanks so much for being our guest today!  Zoom on over to Creating & Teaching to see more awesome ideas!  

Friday, October 7, 2011

Today's Spooktober Guest: Ms. M

Hi Everyone,

It is Ms. M from Ms. M's Blog, a.k.a Ms. k/1ELL. I am here to share some Halloween fun with you all.

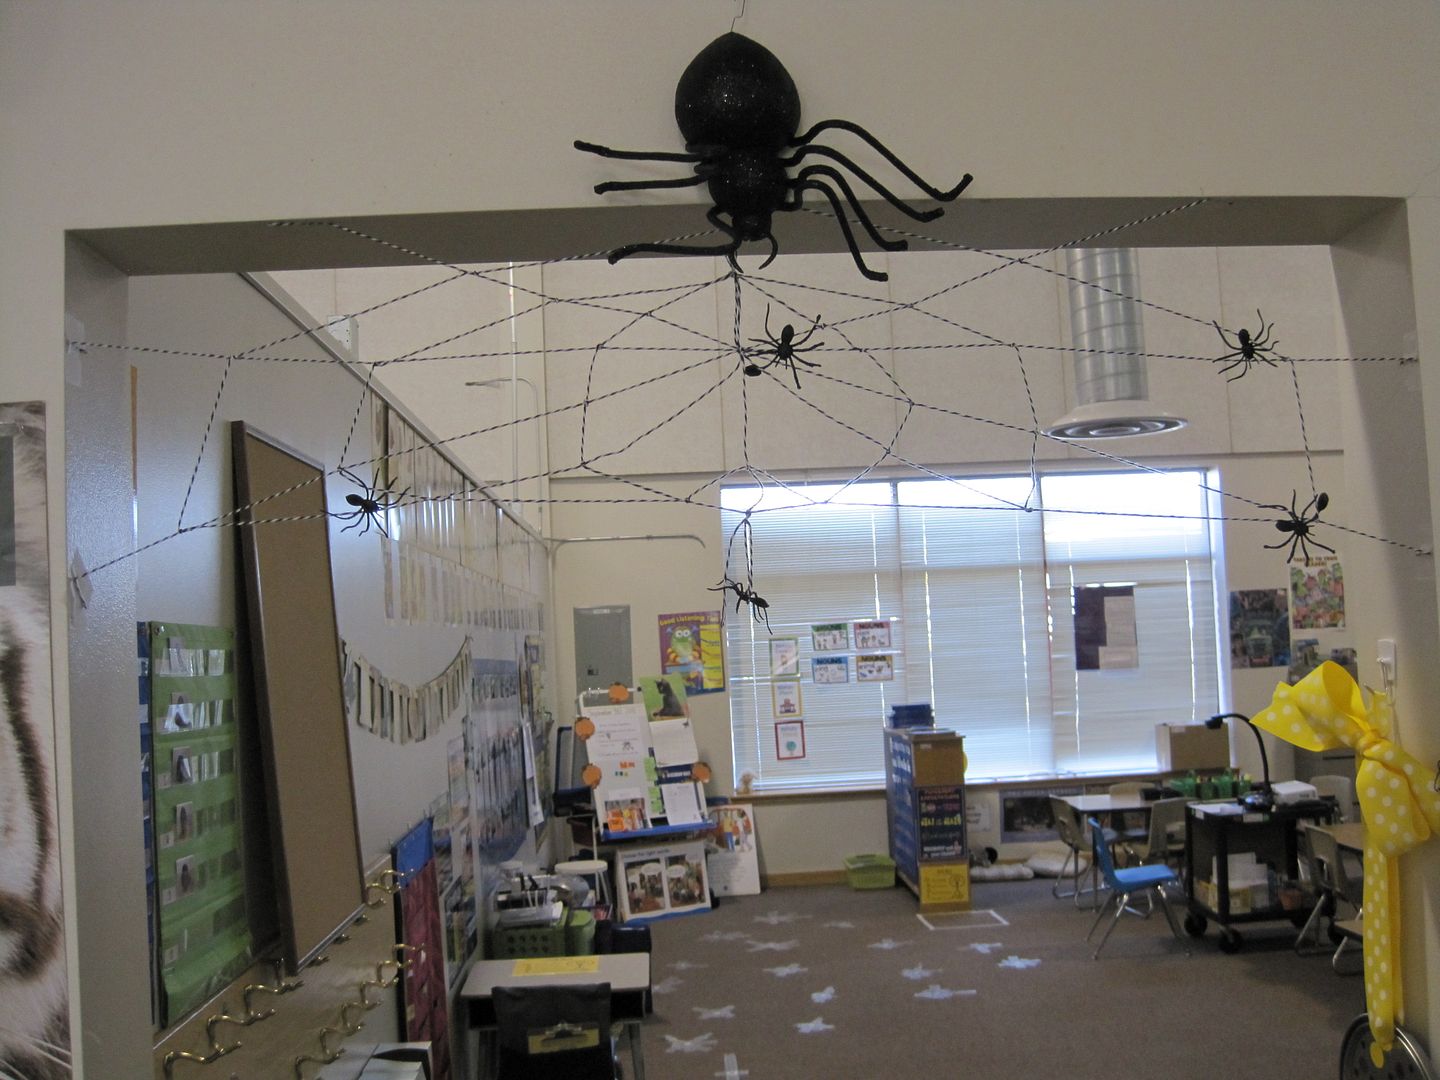
I was excited that the FBU ladies asked if I would like to guest blog. I thought of a million Halloween items to post about, but I chose to tell you about my new project. A doorway spider web.


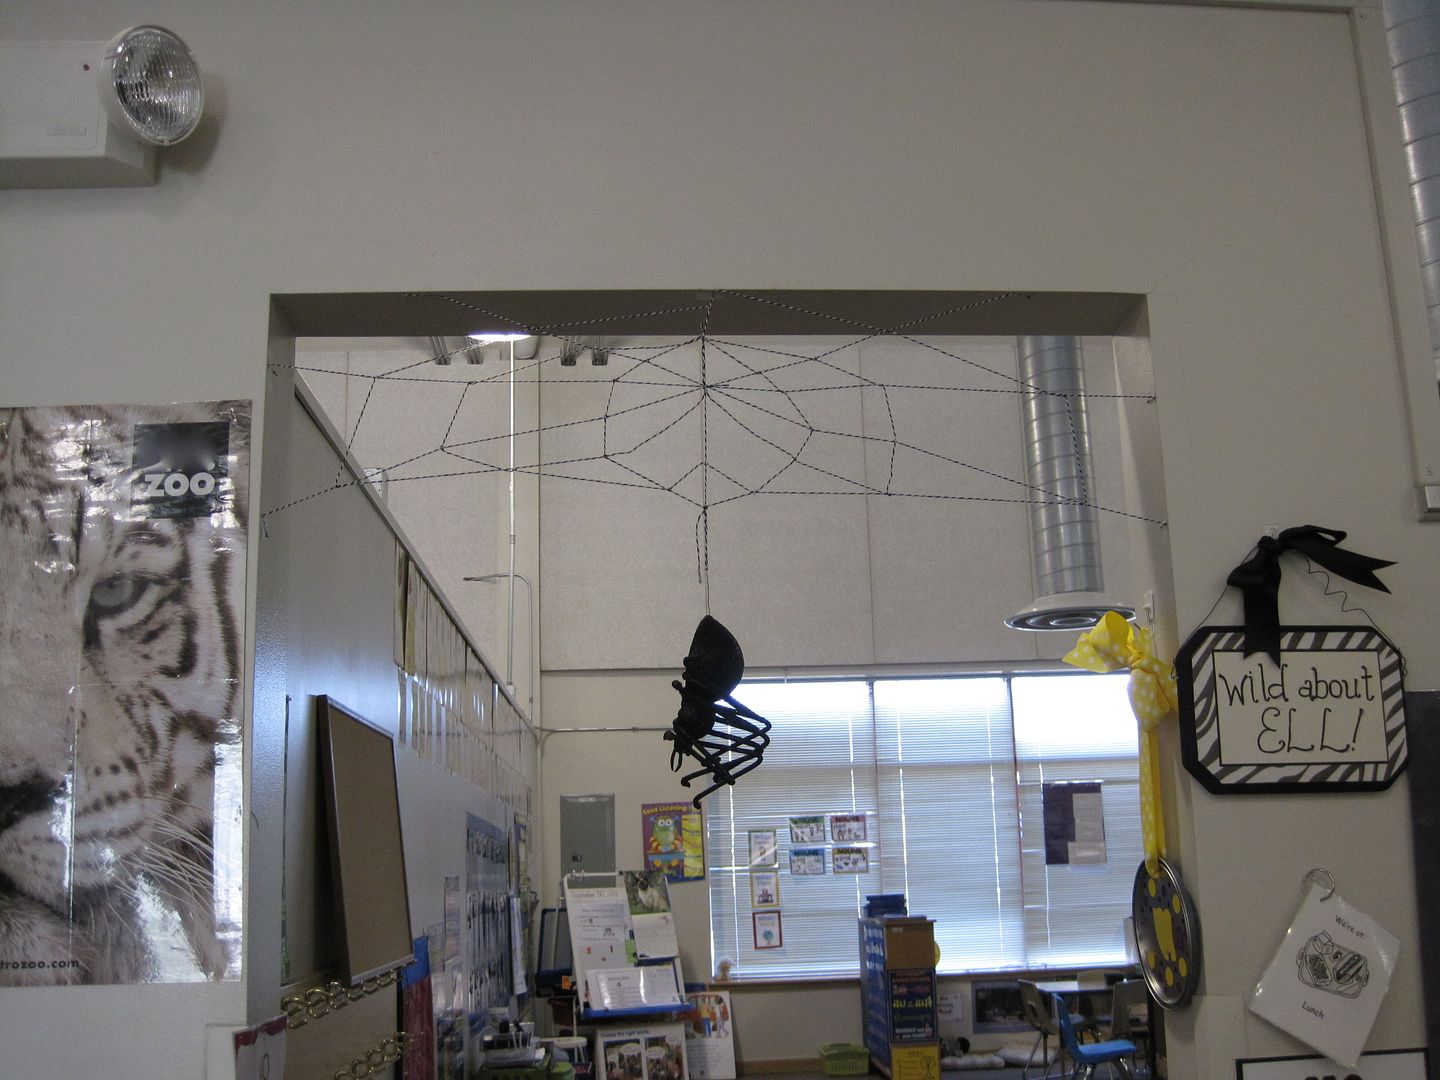
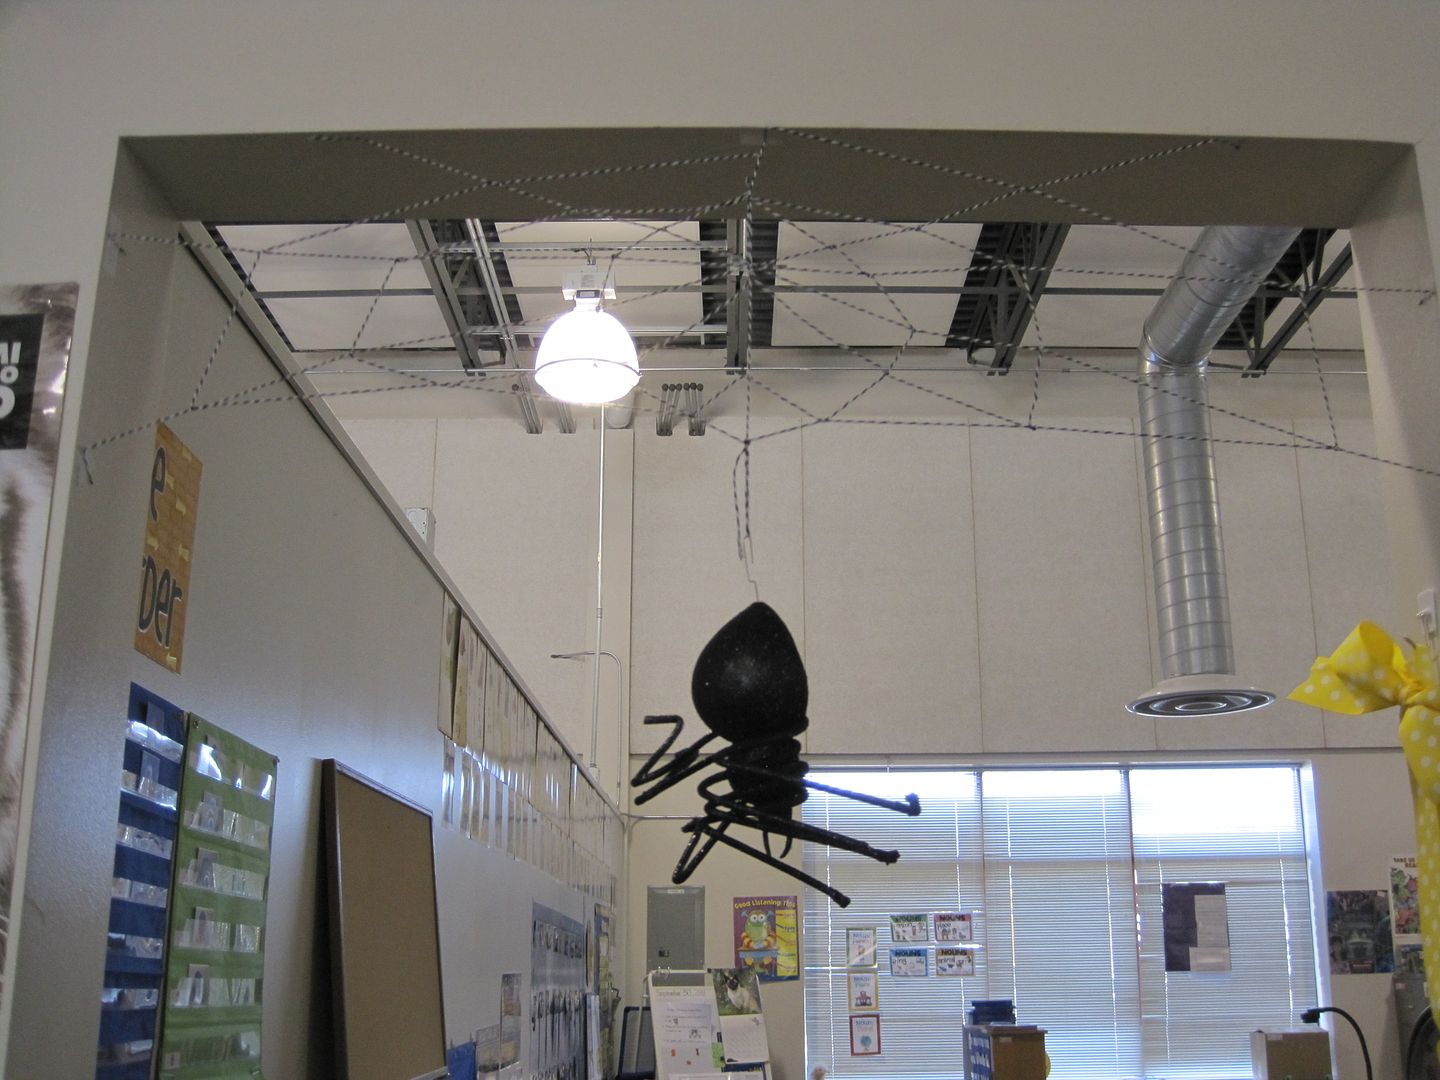
I always love the spider webs made from the white cotton webbing but I am TERRIBLE with the stuff. It is always a mess for me and never sticks. This year, I had a brilliant idea. I used some of that fancy bakers twine from the Twinery. I bought a sampler pack recently and have been looking for ways to embellish my classroom. So I used it to make a spider web. Want to make one for your class or home too?
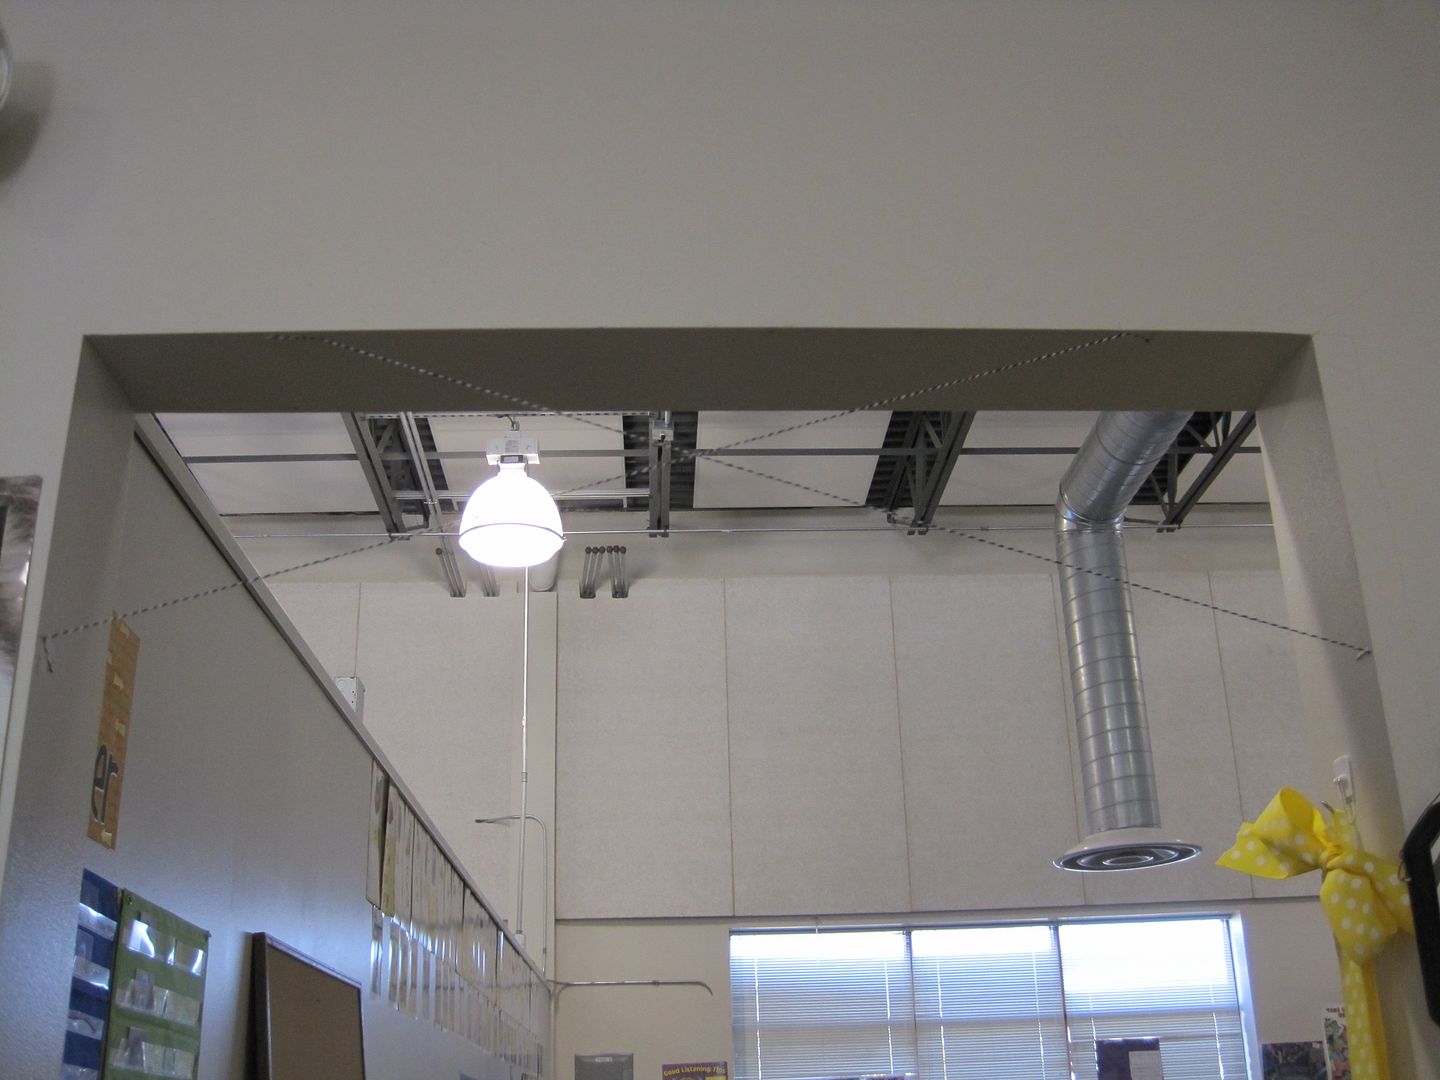
The first thing I did was to take some bakers twine and make an X in my doorway.

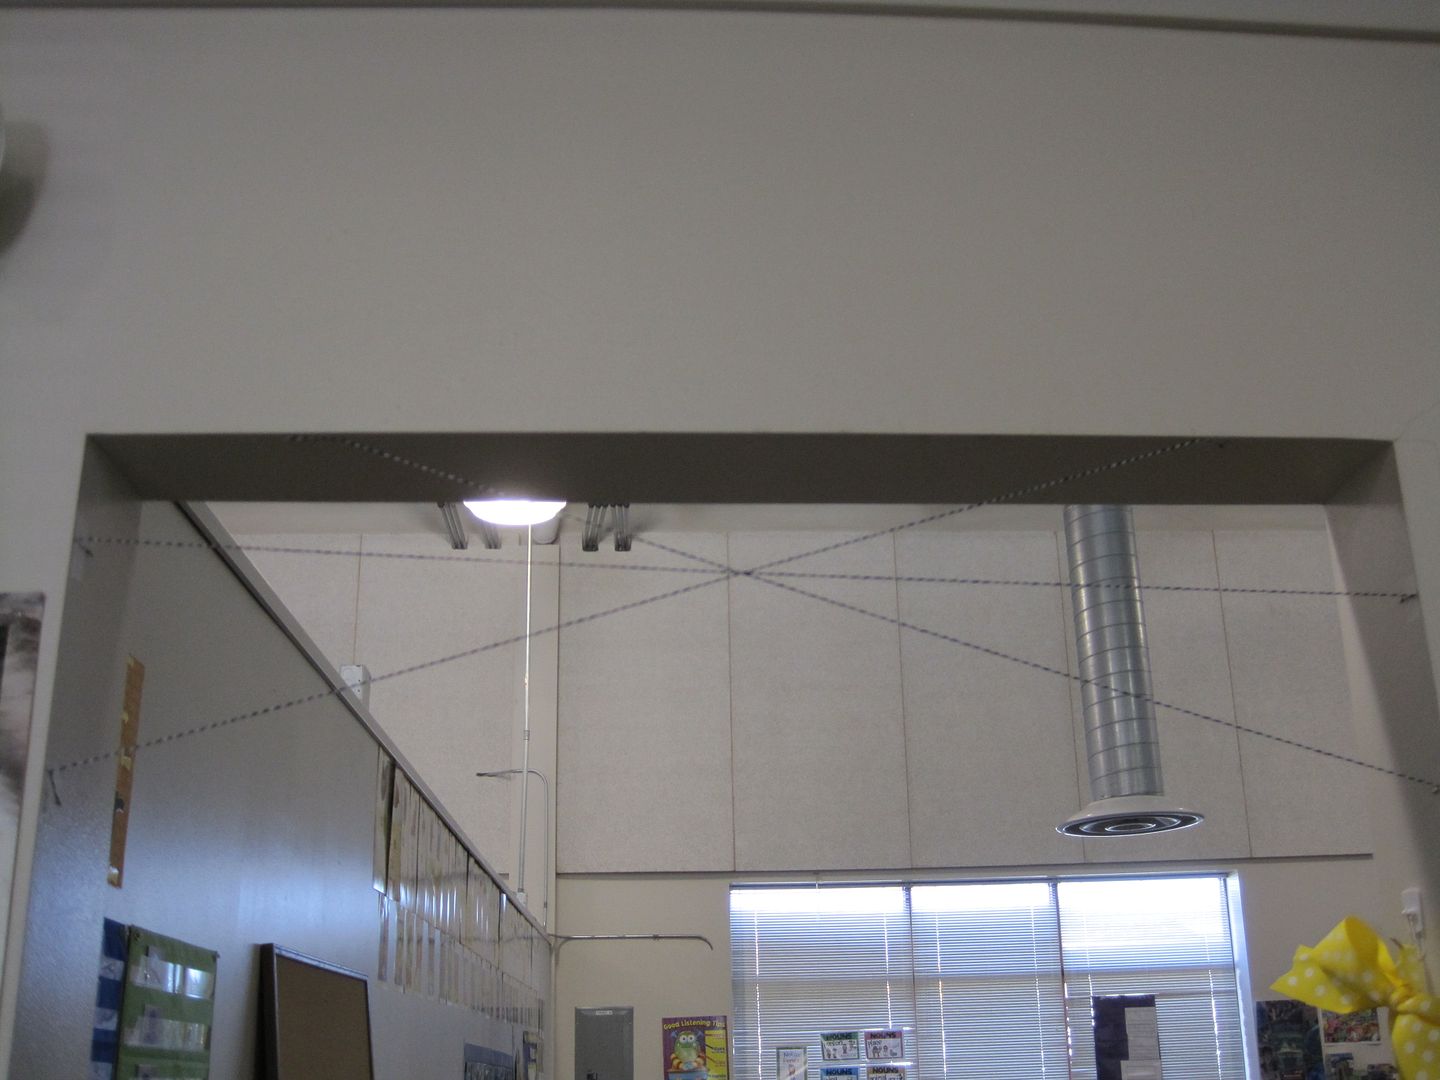
Next I added a 3rd piece of twine across the center.


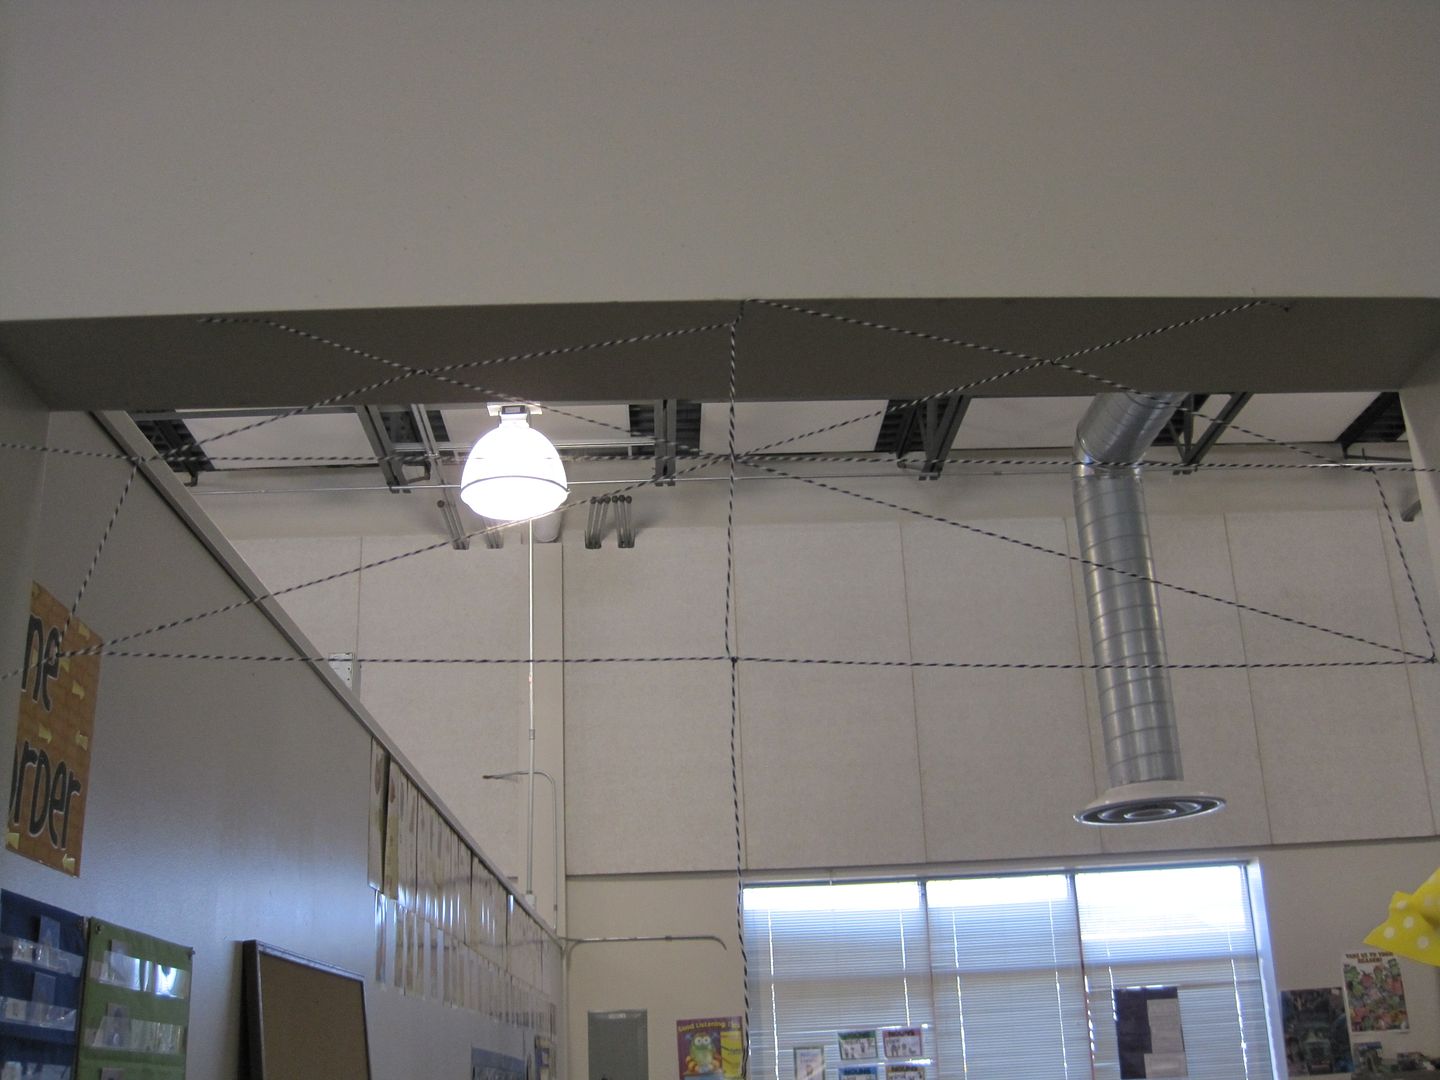
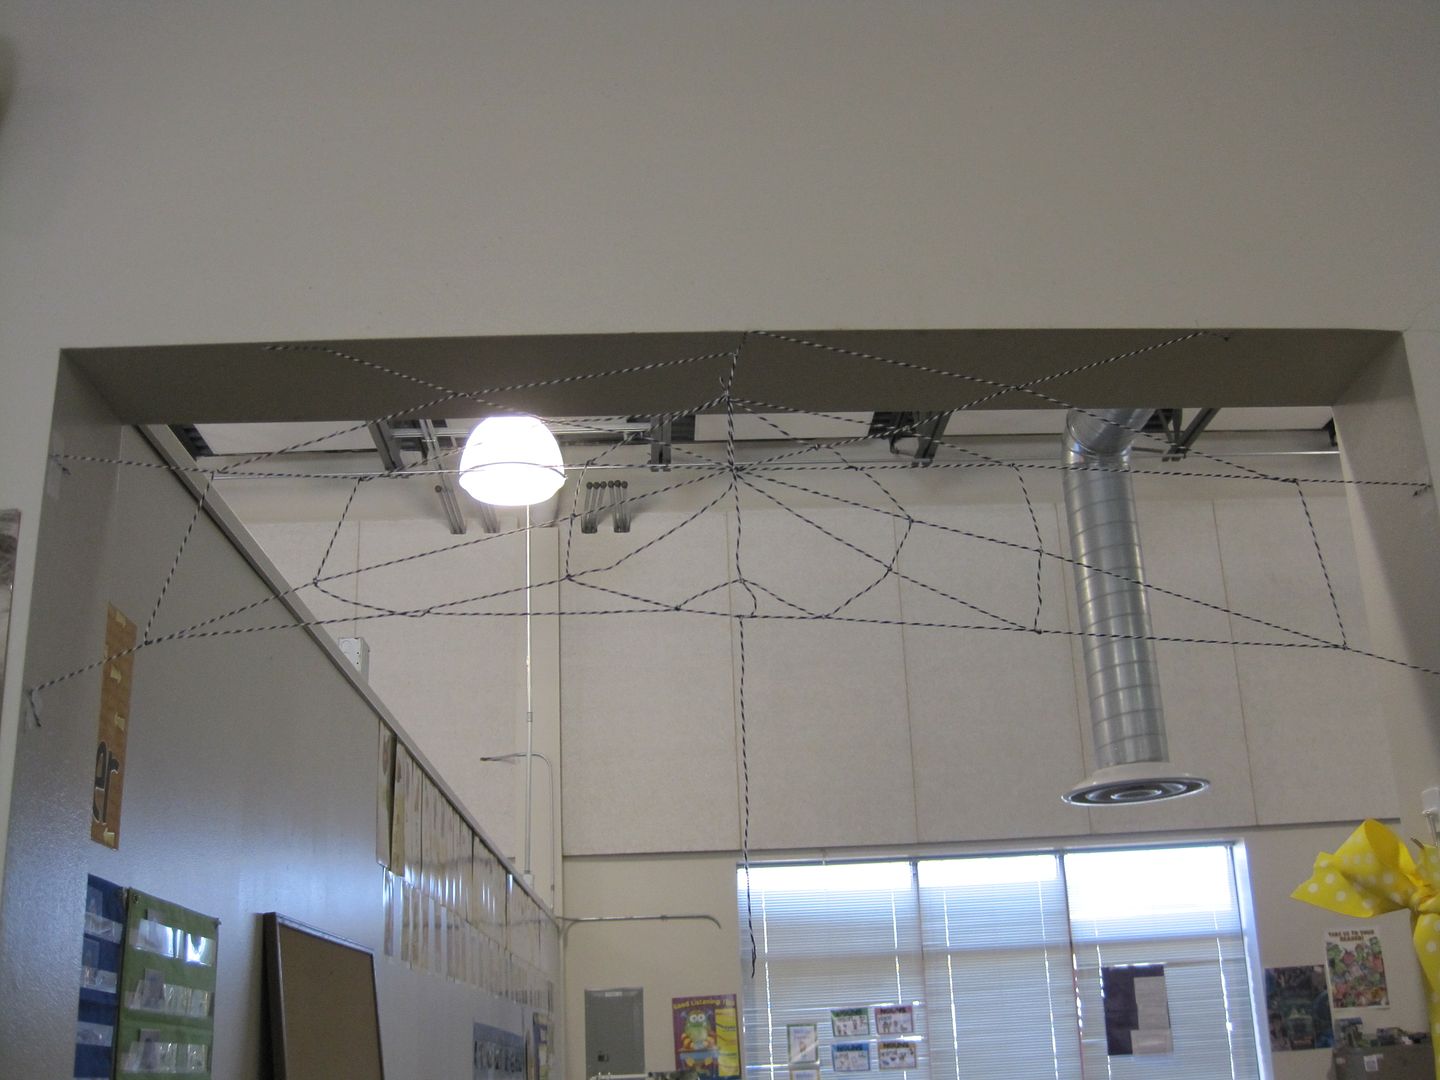
This is where it gets complicated. I next, taped another piece of twine to the top of the doorway, dead center to the intersection of the would be web. I took that piece of twine and I strung it to the right. When I reached the right of the X I tied a knot and stung it down to the next piece of twine and tied another know. I continued to do this all the way around.


When I got to the top I took the twine and stung it straight down and tied a knot in the center. The went to the bottom line and tied a knot again. I left some twine hanging from the bottom because I wanted to have a spider hang from it like it was coming down from its web.

I did this process again 3 times. Here is the picture of what my we looked like then.


I was not happy that some pieces were not taut but looking at it now, it looks pretty good.

After constructing the web it was time to add the spider!


I just LOVED this, but unfortunately I had to remove the large spider. Some of the taller staff members at my school kept running into it. I am pretty short so I had no problem, but I also feared some students jumping up to tap the spider. :/

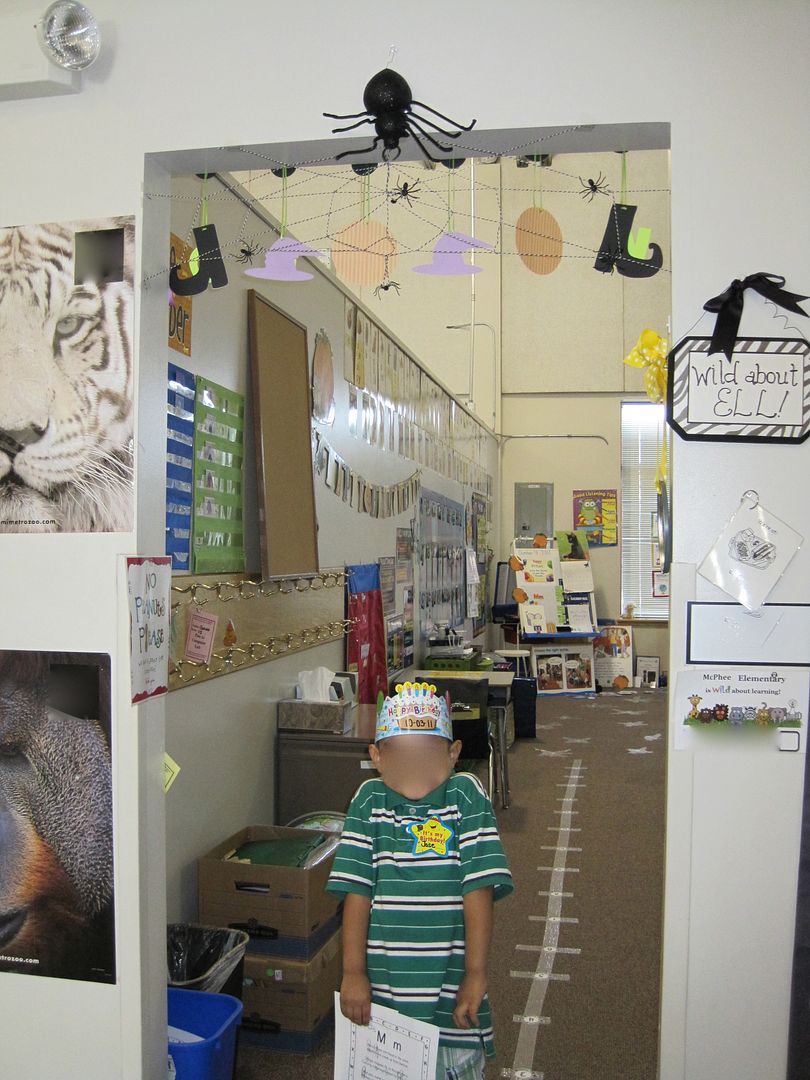
Here is what I came up with.


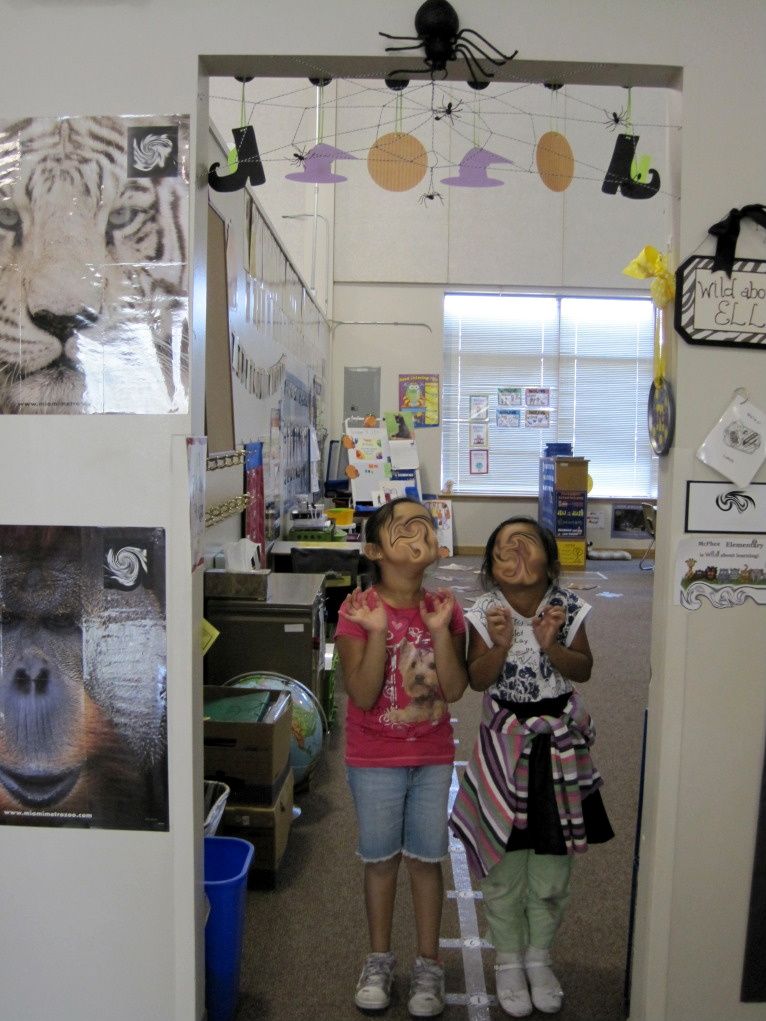
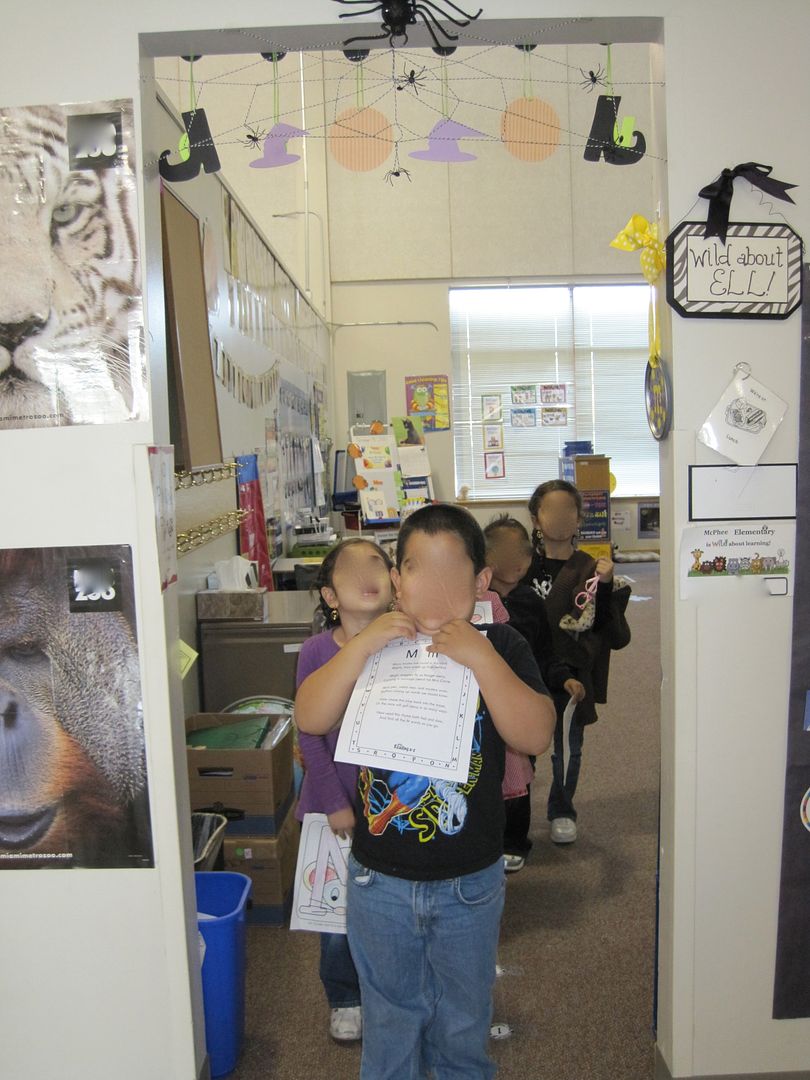
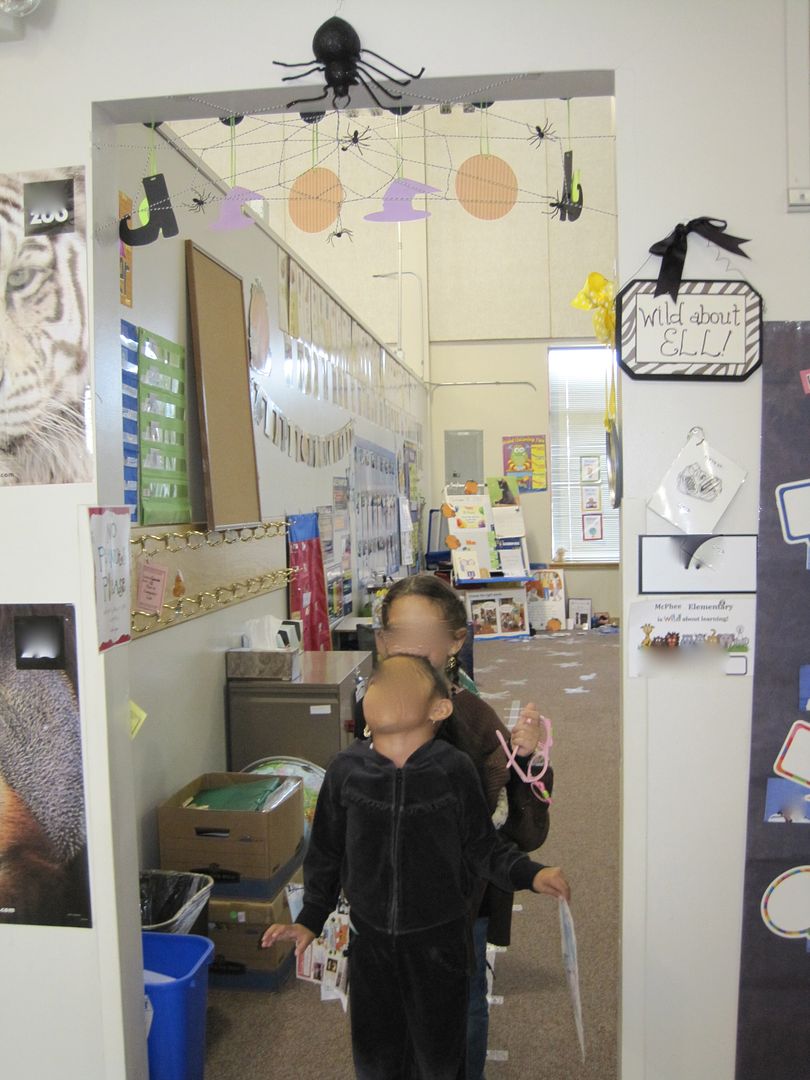
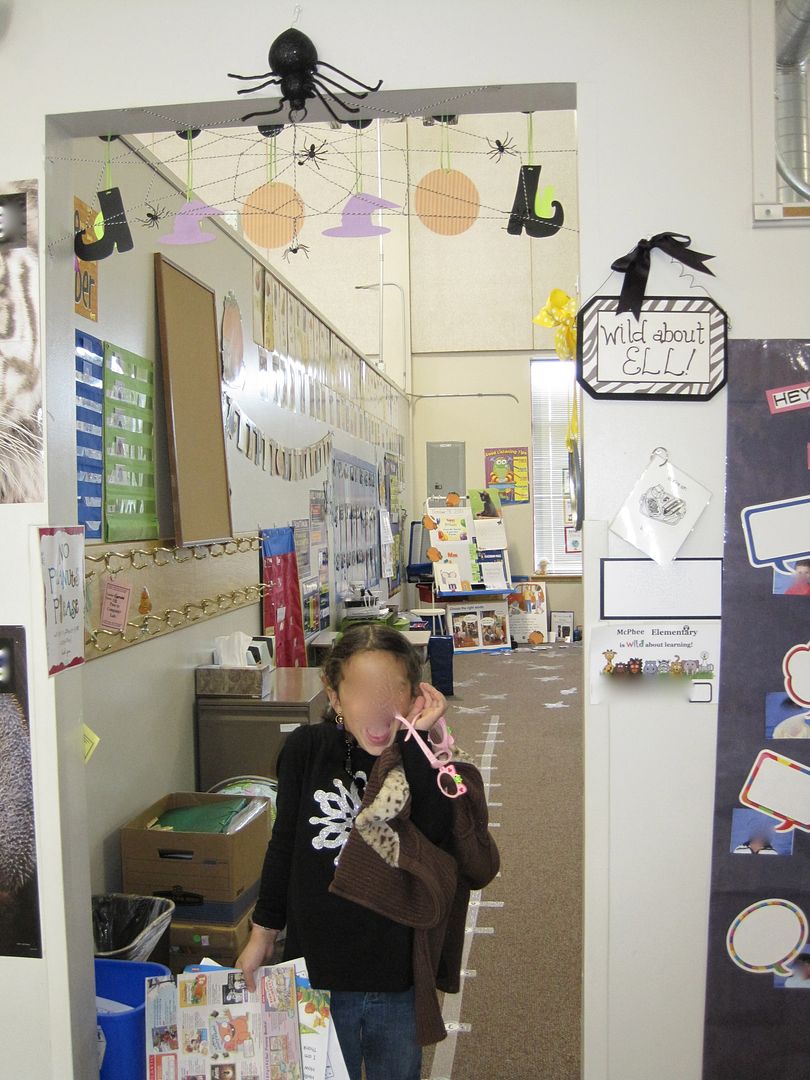
I added some small spiders to the web and placed the large spider at the top of the web as if it was coming down on to it. I love it! I like it more than the original design.

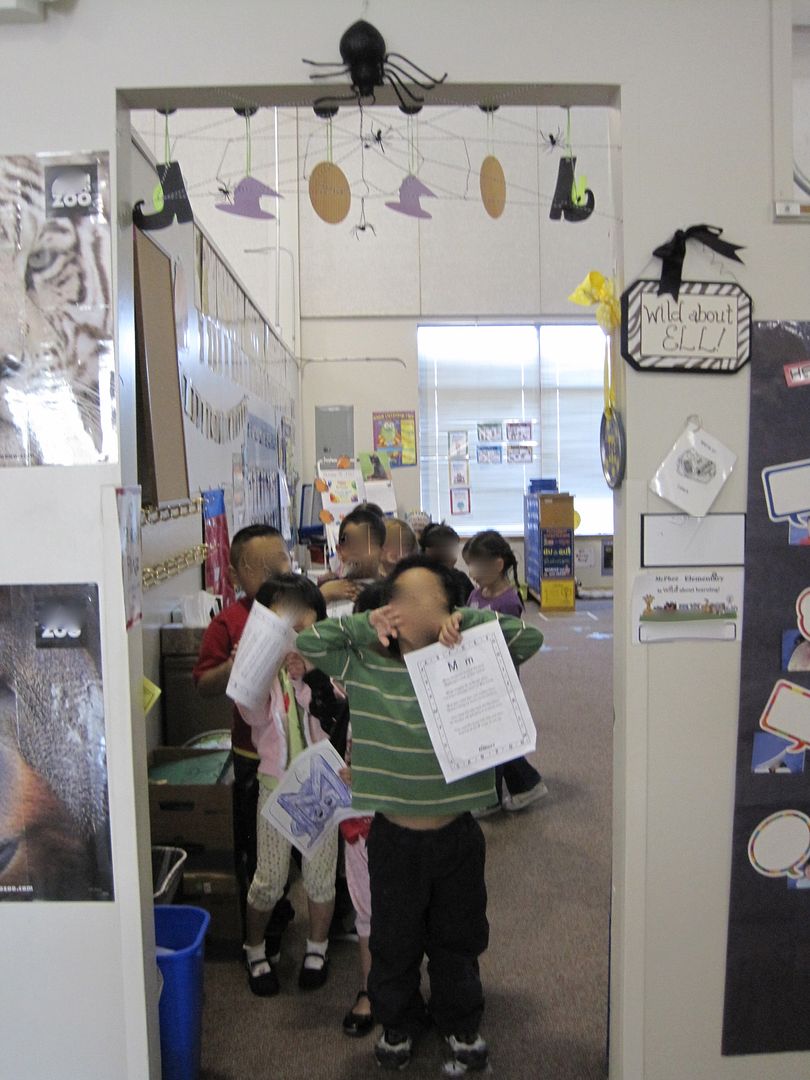
The best part is that the kids all thought it was real and asked me constantly until I stood on a chair and touched it. Here are some shots of them walking out of the room. I had to blur their faces, but you could still see the expression in their bodies. Priceless.


Thanks for reading along. Feel free to check out some of my other projects over on my blog, by clicking on the button below. :)
Enjoy!

***Wow, Ms. M, that is one spooky & CUTE spider!  Thanks so much for sharing!  

Now, go visit her blog and see why we think she is spook-tacular!