homeAbout UsTeachingPartiesFor the HomeFreebies
Showing posts with label Halloween. Show all posts

Saturday, October 29, 2011

Halloween Sweets & Parties

Wanna know the first sound I heard this morning?....I still use a monitor for Noah's room (especially since he's been sick), so I hear every sound he makes.  He got out of bed saying, "Halloween party, Halloween party, Halloween party!".  Then, he came into our room and said, "Good Morning, Daddy, it's our Halloween party!"  "Good Morning, Mommy, it's our Halloween party!"  Do you think he's a little bit excited?  Truth be told, I'm excited too!  I LOVE me some Halloween fun!  ;)


My hubby & I have hosted a Halloween party since 2004.  Click the pictures below to see pictures from our last two parties (my first two experiences with DIY parties) :)


Now, here's some Halloween sweets Pinterest love...P.S. I'm making some of these treats tonight, so I'll let you know how it goes...wish me luck! 

Candy Corn Bark from Texas Cottage

Pretzel Ghosts from The Hidden List

Mummy Munch from Picky Palate

Witch Hats from Explore Dream Discover

Check out this budget-friendly & boo-tifully cute Halloween sweets table from Piggy Bank Parties.

Photobucket

Wednesday, October 26, 2011

Winner & Halloween Yummies

Hello, GHOULfriends (or boo-yfriends, as the case may be)!  5 days till Halloween...the countdown is on!  I feel like October passing by at warp speed around here!


Last week, we had a fun giveaway from Cloud Street Lab!  Today...we have TWO winners who get to choose the clipart set of their choice!

Congratulations, ladies!  Just send us your email addresses and we'll get your info over to the shop owner!


During these last few nights before Halloween, I want to make dinner time spooky and fun for Noah, so here are some bewitching recipes to help you with your ghostly dinner menus.

Mummy Dogs from Better Homes & Gardens

Breadstick Bones from Plain Chicken

Halloween Mac-n-Cheese
Stay tuned for some spooky ideas for Halloween sweets and party ideas coming soon!
Photobucket

Tuesday, October 25, 2011

Today's Spooktober Guest ~ Welcome to Room 36

Hello this is Mrs. Williamson from Welcome to Room 36. I have a ghost measuring activity that I think your kiddos will love. All you need to do is print and laminate the ghosts on white cardstock. You can lay the ghosts on the carpet or tape them to the wall. I always have my kids lie on the carpet while a partner measures them. Then they can fill out the recording sheet I have provided. You may also make a large ghost out of bulletin board paper and have the kids measure the ghost. 

You can get the ghost measuring activity by clicking here.


How hauntingly cute is that ghost measurement activity, Mrs. Williamson!  Thanks so much for being our guest today!  

Float on by Welcome to Room 36 for more inspiration!  

Monday, October 24, 2011

Today's Spooktober Guest ~ 2 Teaching Mommies

Hello, hello.  We’re Amber and Madonna from 2 Teaching Mommies. In our before kids life we were both teachers.  Now we are stay at home moms trying to make life a little easier on moms and teachers by offering free preschool printables! 

As teachers (and mommies) we are always looking for ways to take fun things and make them learning opportunities. As Halloween draws ever nearer we racked our brains on ways to have some fun without being too spooky! The result of our brainstorming sessions was a unit all about spiders!

Here were a couple of our favorite spider activities!

W is for Web- Teaches your child how letters are linked to sounds to form letter-sound correspondence. (We have two ways you can do this activity- lacing or coloring. You can color with a white crayon or chalk. If you use chalk spray the paper with hair spray before gluing. The hair spray sets the chalk and it won't continue to flake off.)


Smack the Spider- Have your child smack the letter you call out to reinforce letter recognition.


Tactile Spider Craft- Before setting down with your kiddo, create a spider web using a glue gun on finger painting paper. Set aside to cool and dry. When its cool and dry, place it in front of your kiddo and let him color on the web with finger paint! You can see a more detailed posting on our site!


This year we are expanding our spider unit with some more creepy crawly learning, so be sure and check us out over at 2 Teaching Mommies to see what we are up too!

Amber and Madonna
2 Teaching Mommies


How spider-iffic those activities are, girls!  Thanks so much for being our guest today!  


Saturday, October 22, 2011

*UPDATED* Halloween FREEBIE

I tried to get this out to ya'll yesterday, but it just didn't happen. So sorry my friends! My kinders absolutely LOVE graphing and sorting...especially when it comes to EATING! 
All you need to do is download and purchase these little fellas... 
I like the individually wrapped the best because you don't have to worry about giving one child "too many" of something and having someone get upset if you know what I mean. :)
 (Click the picture to download)

Sorry about the downloading issues earlier. I forgot to make it downloadable to my friends. EEKK! My apolgies. ENJOY! 
Photobucket

Wednesday, October 19, 2011

Today's Spooktober Guest ~ Miss Kindergarten

Hi everyone! I am so excited to be a guest blogger for the FBU girls! I seriously love these ladies and was SO honored when I got an email from them over the summer letting me know that they were featuring my blog! {I was at El Pollo Loco and the cashier guy probably thought I was loco...}


Anyway...I'm super duper excited that Halloween is almost here! It is my favorite holiday! But it also makes me pretty nervous! A bunch of kids running around in costumes in the dark night!? It's a recipe for disaster! So I created this Halloween Safety Book to use with my kinders. {I didn't make it up, I saw it in a kindergarten class and just cutesified it with cute clip art and font!}


Download your own copy by clicking on the image!

Photobucket

Oh my goodness, Hadar, what a fun Halloween-y idea!  Safety is always important, especially on days that the "lil' monsters" are too excited to think clearly!  Thanks so much for being our guest today!  Be sure and visit Miss Kindergarten & see what amazing ideas she keeps coming up with! :)

Saturday, October 15, 2011

New Halloween Packet

So, ok, I just barely finished my HALLOWEEN SONGS & GAMES packet for the shop by the light of the Halloween moon!  My little one has been VERY sick and I didn't think I was going to finish it.  Noah has an upper respiratory virus and we were sent home from the doctor this morning with a breathing machine...ugh!  Let's just say I was one scared Mommy today!  My child has a hard time slowing down because he has a humongous amount of energy.  So, we decided if we gave Noah his Halloween present early, we could convince him to sit still.   So, tonight, as we watched "Spooky Buddies," I had time to get it done!  Super cute movie, by the way! :)


This monster packet is 37 pages long and consists of...

This is just a sampling of the files you'll find inside.

As we introduce this new packet into the shop, we're having a
For 5 DAYS ONLY, prices will be SLASHED {sorry to sound like a commercial for used cars on Halloween}, to 15% off.  Click the flickering jack-o-lanterns to take a look...your Halloween fun awaits!  

Photobucket

Thursday, October 13, 2011

Today's Spooktober Guest ~ Getting Messy with Ms. Jessi


Hi there! My name is Jessi and I blog over at Getting Messy With Ms. Jessi.  I am a preschool teacher, a mommy and a lover of doing lots of upcycling!  I blog about all the fun adventures I take my preschoolers thru and show teachers and parents alike how to make great games, art projects and activities on a (really tiny) budget.  I was super excited when Frogs, Bees and Under the Seas asked me (and others) to be a guest blogger!  It's my first!  Yay!

With Halloween coming around soon we have begun to "decorate" our classroom with Halloween and fall items.  Today I'm showing you how to make super cute spiders from film canisters!  I know, I know nobody uses those "old fashioned" cameras anymore but you never know when you'll come across a gaggle of these!


I started with canisters and then drew out lines (with a white pencil) on black construction paper, about 1/2" thick for the kids to cut.
Great cutting practice!
Counting eight legs and then splitting them was a great lesson!
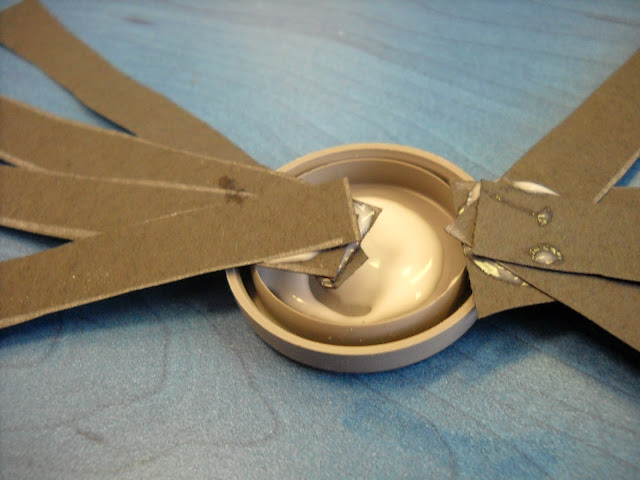
We glued each set of four legs together and then glued the two inside the lid.
Meanwhile...or if you're thinking ahead of time (unlike me!) poke a small hole in the bottom of the canister to thread fishing line thru. 

Next, push the lid on the canister.  It will be a VERY tight fit.  Bend the legs down and add googley eyes!
I hung them up in front of some marble painted "webs" we made earlier.  SPOOKY! Even a little Kooky! 


I love art projects with film canisters!  Wondering where to get these little babies...try Walmart or Walgreen photo departments!  I've had luck there. 

Thanks so much, Jessi!  This is a spider-rific idea!  Crawl on over to Getting Messy with Ms. Jessi & see the other awesome tips she can give you! :) 

Wednesday, October 12, 2011

Today's Spooktober Guest ~ First Grade O.W.L.s.

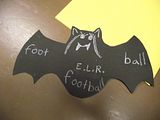
Hi everyone!  Nicole, here from First Grade O.W.L.s.  I am so excited to be a part of the Spooktober Celebration at Frogs, Bees and Under the Seas!  There are so many fun, spooky activities to do in October.  I thought I would post about something that incorporates a little learning and also decorates your classroom for this spooky time of year.  I took a bat pattern and traced it onto black construction paper.  Here is a bat pattern I found online.  You may need to enlarge it a bit.  We just finished learning about compound words so as a class we made a chart full of compound words. Then, students wrote a compound word on the bat's belly and the two words that make up the compound word on the wings.  It ended up looking like this:

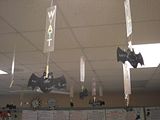
We wrote a compound word on the front and the back of the bat and then we hung them from the clips on the ceiling to make it look as if our room is full of flying bats ~ compound word bats that is! 


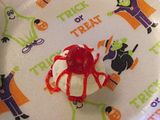
And I just have to share this last little treat. Last year my class made edible eyeballs!  They are SO simple and my class thought they were SPOOKTACULAR!  Here is how you make them.  First take a white powdered donut.  Then place a gummy life saver on top in the center.  Use a little red gel icing to make it look bloodshot and there you have it!  Here is a picture of one of our eyeballs:


I want to thank Frogs, Bees and Under the Seas for inviting me to take part in this fabulous celebration.  I am enjoying all of the awesome ideas!   


Nicole, those bats are so cute, it's SCARY!  Lovin' the eyeballs too!  Thanks for joining our Spooktober party!  Fly on over to First Grade O.W.L.s. for much more inspiration! :)  

Friday, October 7, 2011

Today's Spooktober Guest: Ms. M

Hi Everyone,

It is Ms. M from Ms. M's Blog, a.k.a Ms. k/1ELL. I am here to share some Halloween fun with you all.

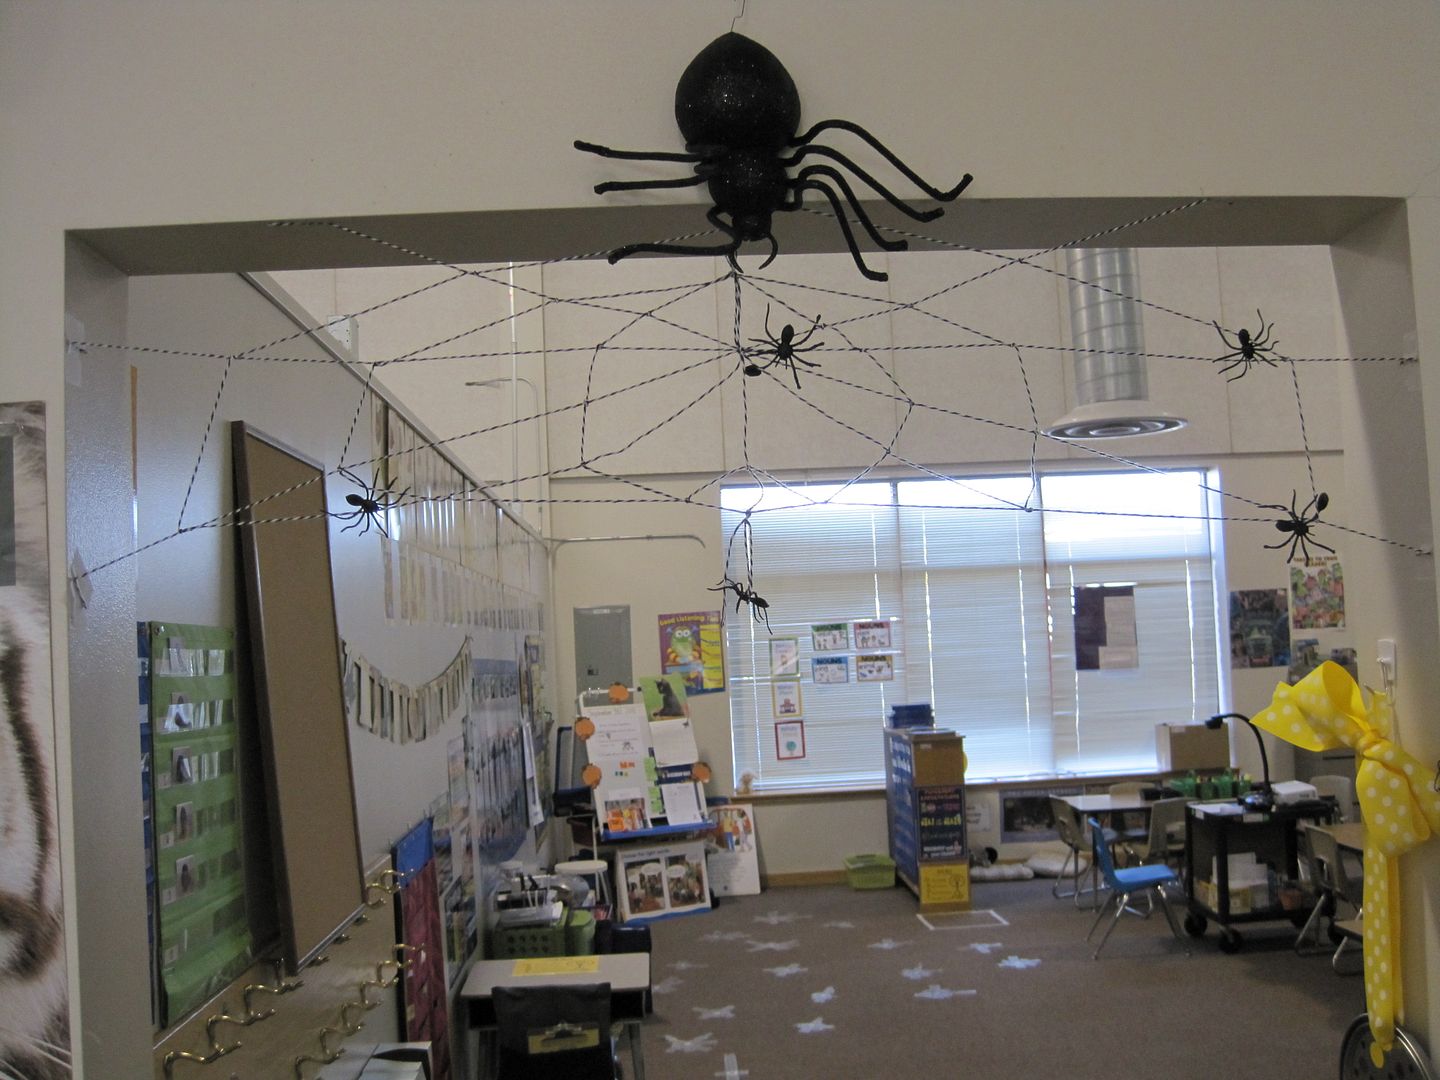
I was excited that the FBU ladies asked if I would like to guest blog. I thought of a million Halloween items to post about, but I chose to tell you about my new project. A doorway spider web.


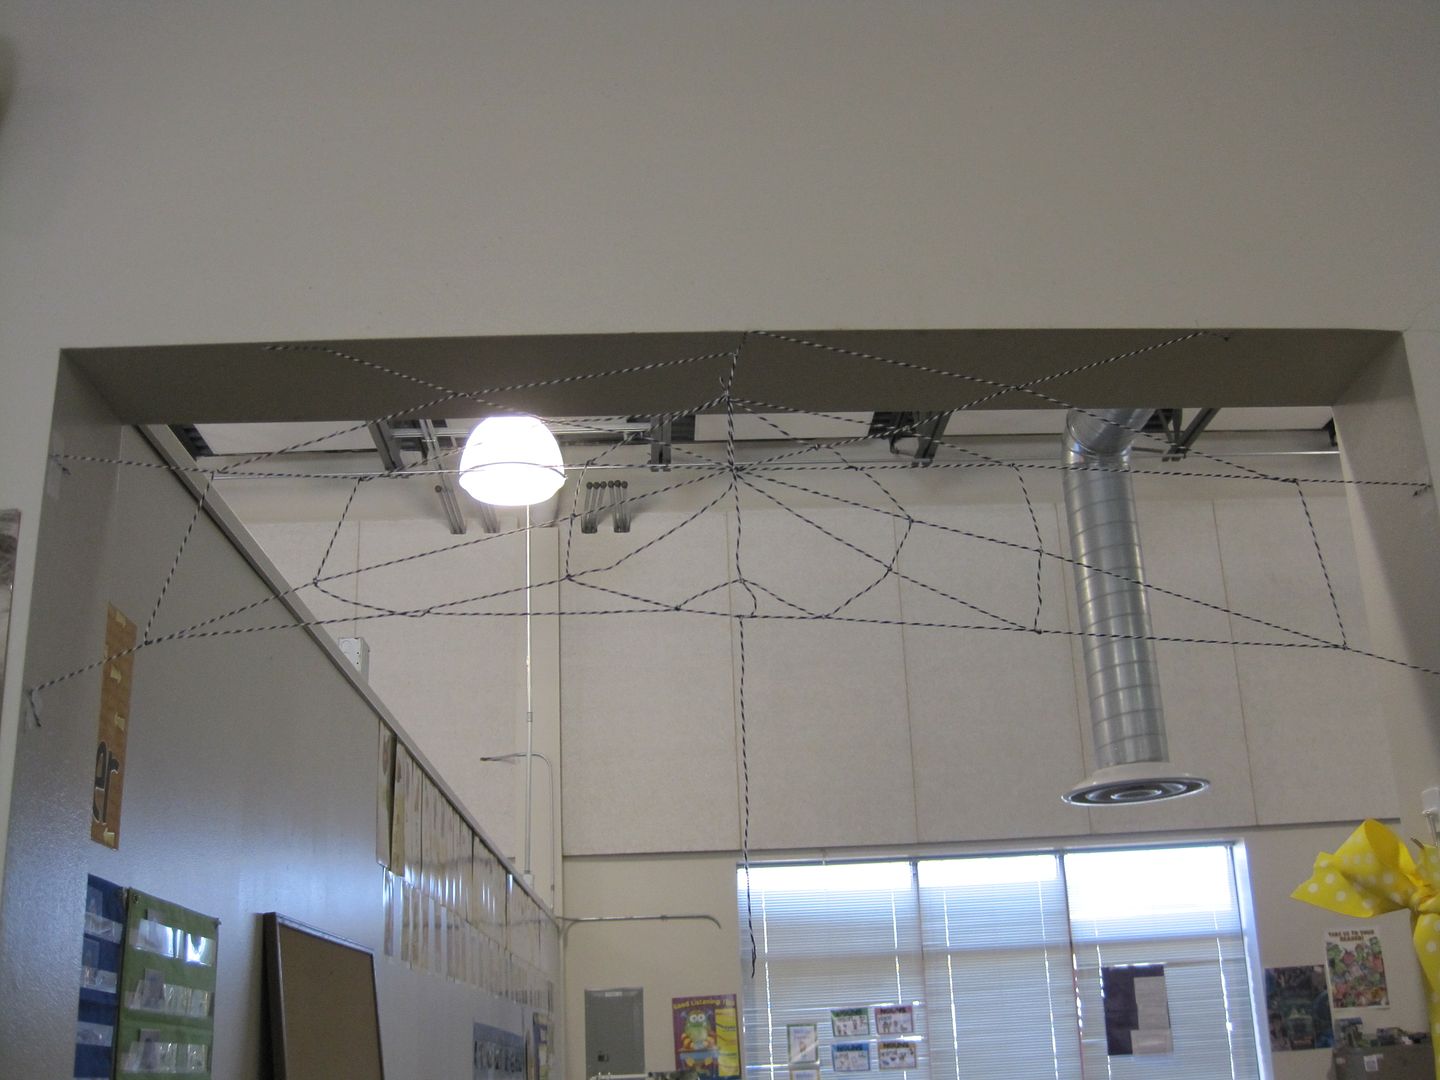
I always love the spider webs made from the white cotton webbing but I am TERRIBLE with the stuff. It is always a mess for me and never sticks. This year, I had a brilliant idea. I used some of that fancy bakers twine from the Twinery. I bought a sampler pack recently and have been looking for ways to embellish my classroom. So I used it to make a spider web. Want to make one for your class or home too?
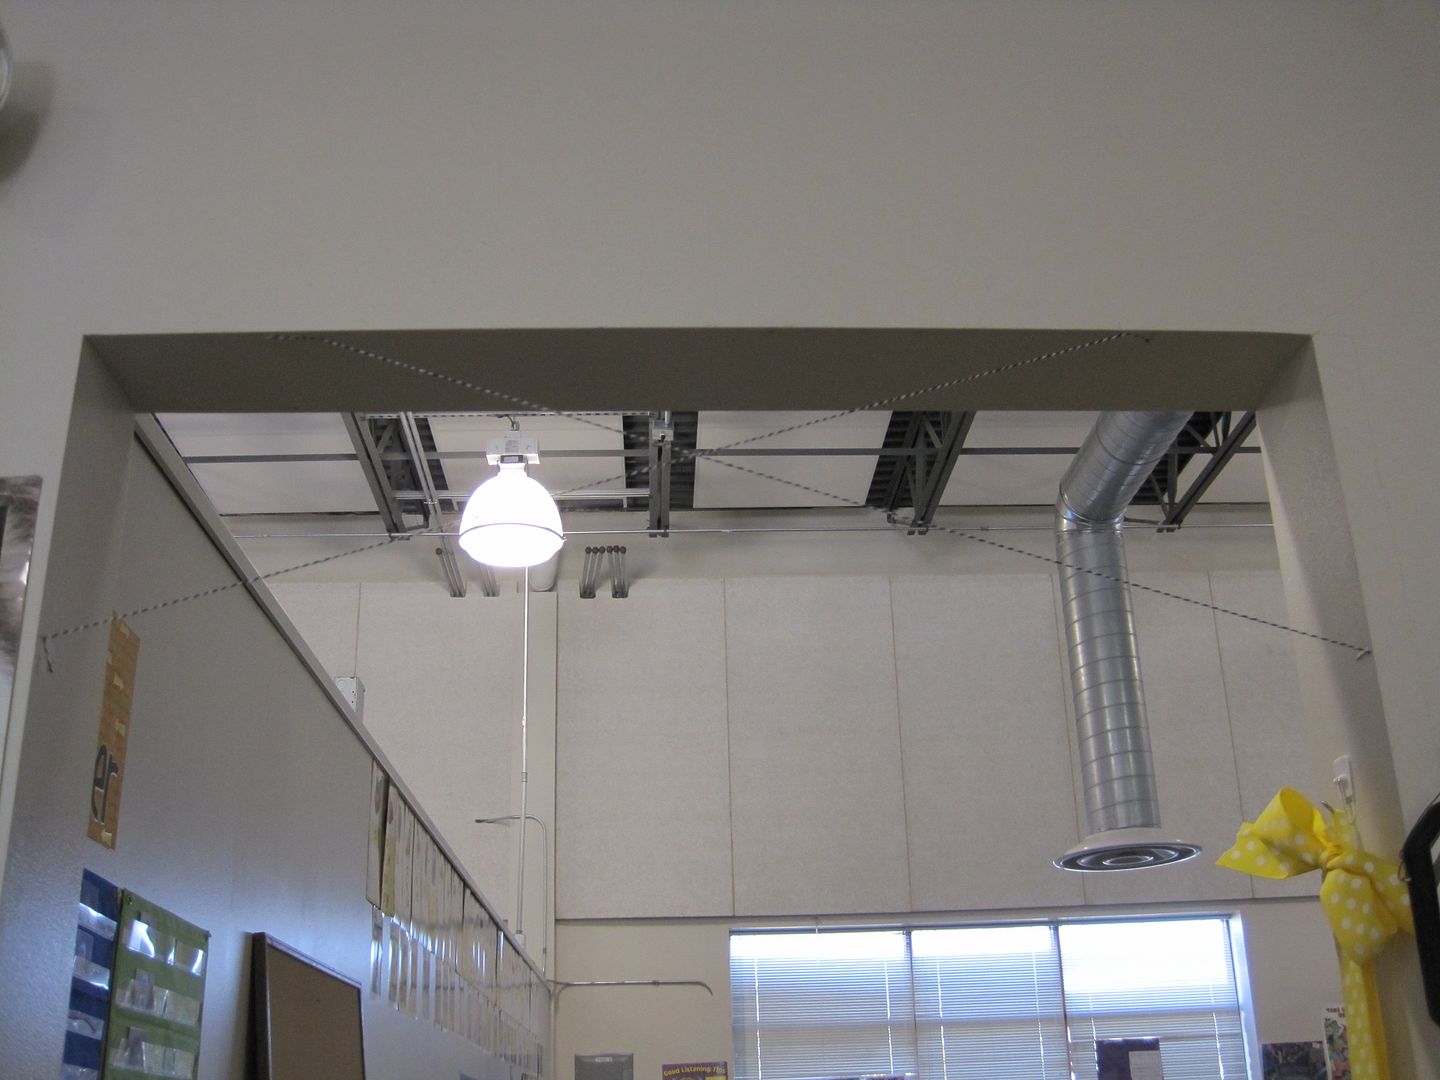
The first thing I did was to take some bakers twine and make an X in my doorway.

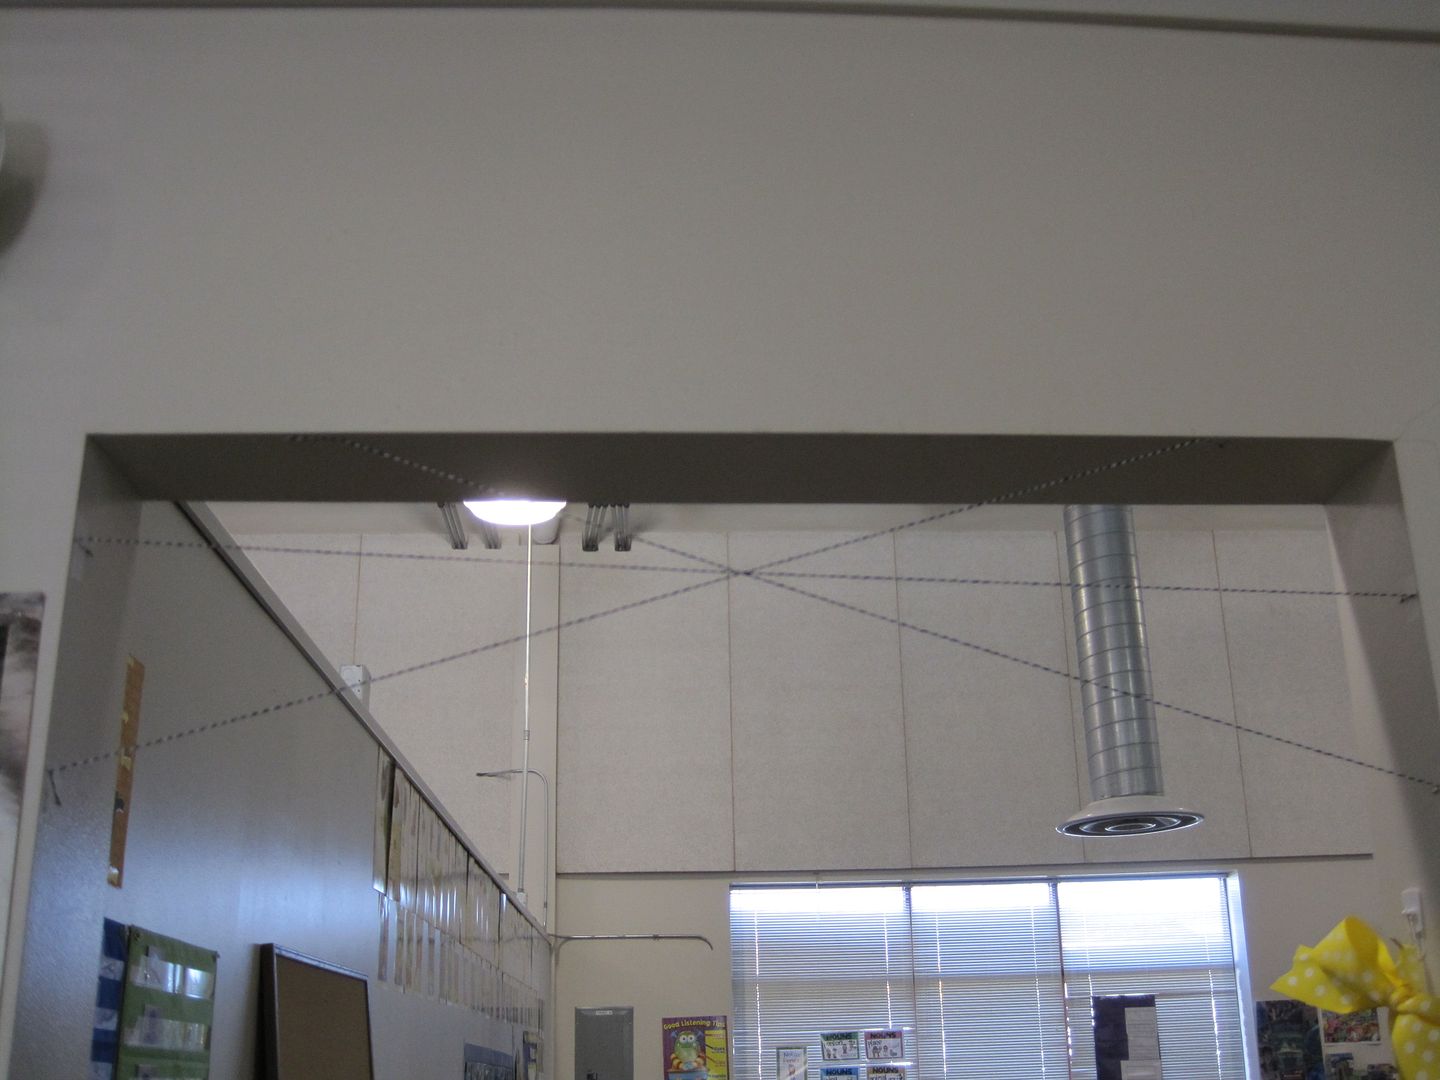
Next I added a 3rd piece of twine across the center.


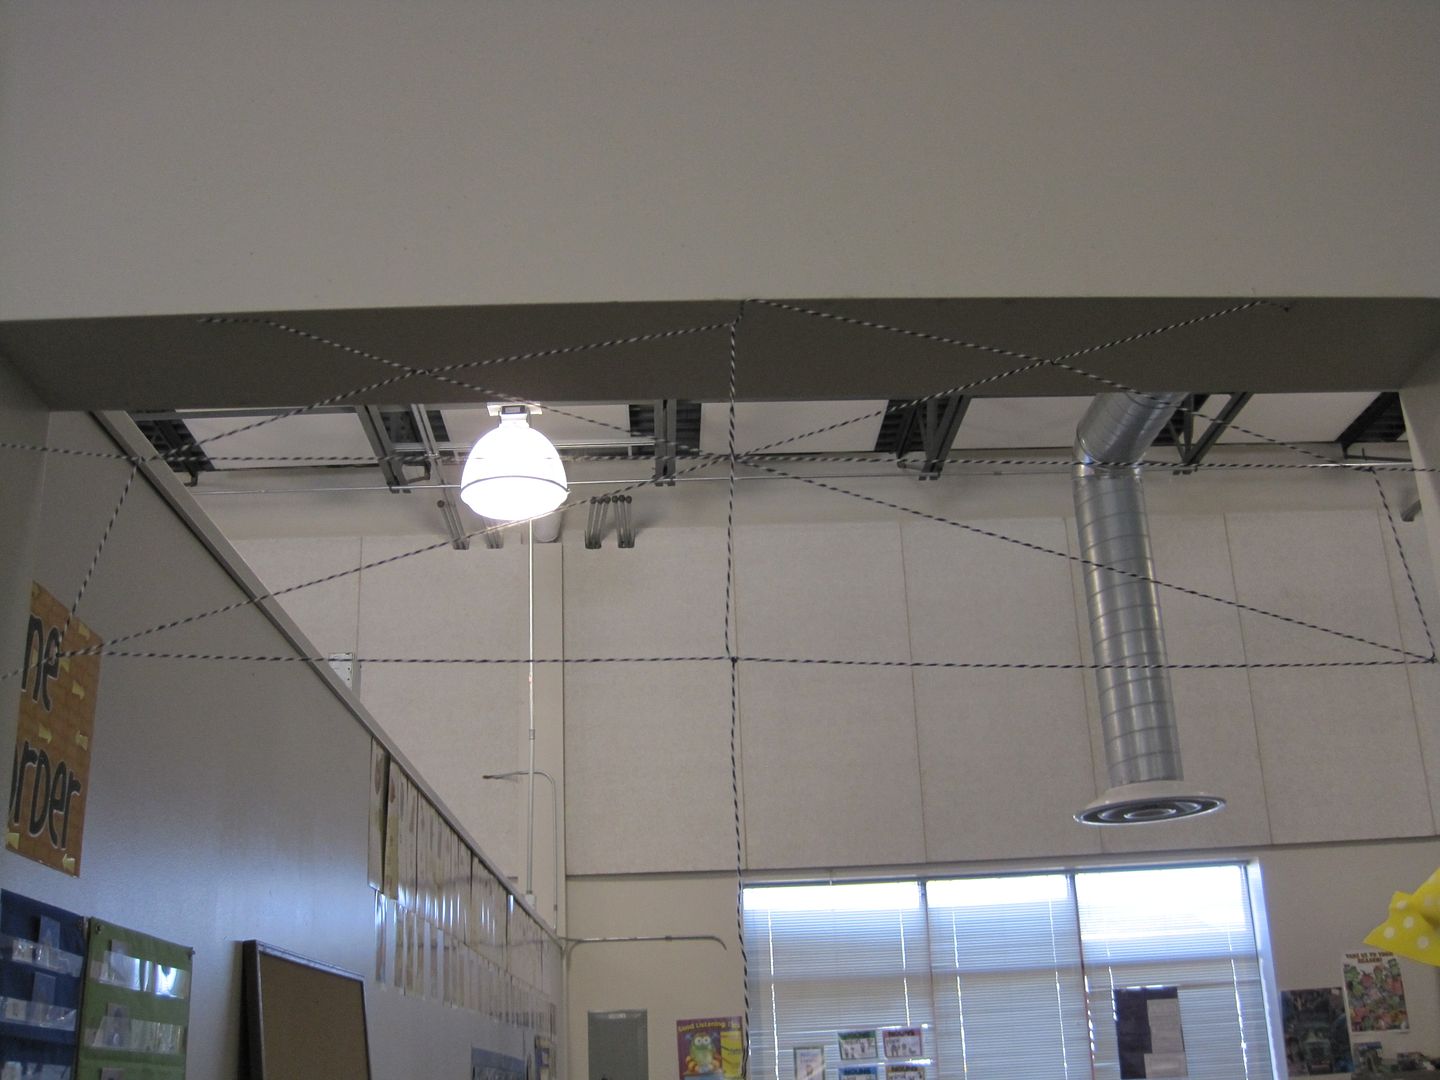
This is where it gets complicated. I next, taped another piece of twine to the top of the doorway, dead center to the intersection of the would be web. I took that piece of twine and I strung it to the right. When I reached the right of the X I tied a knot and stung it down to the next piece of twine and tied another know. I continued to do this all the way around.


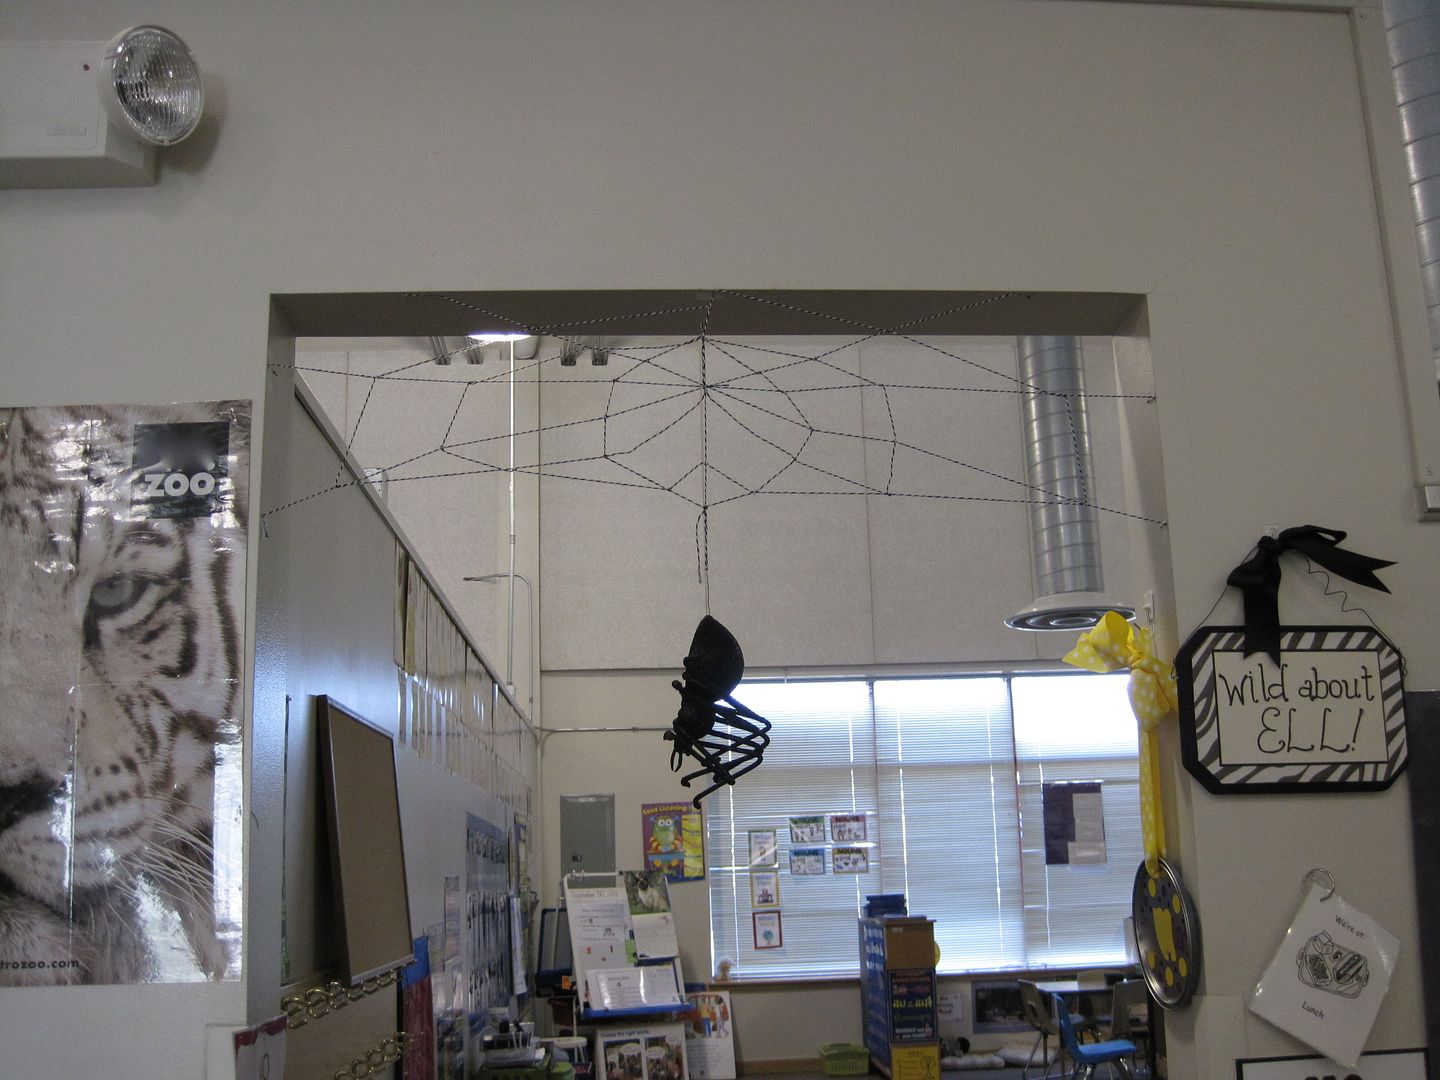
When I got to the top I took the twine and stung it straight down and tied a knot in the center. The went to the bottom line and tied a knot again. I left some twine hanging from the bottom because I wanted to have a spider hang from it like it was coming down from its web.

I did this process again 3 times. Here is the picture of what my we looked like then.


I was not happy that some pieces were not taut but looking at it now, it looks pretty good.

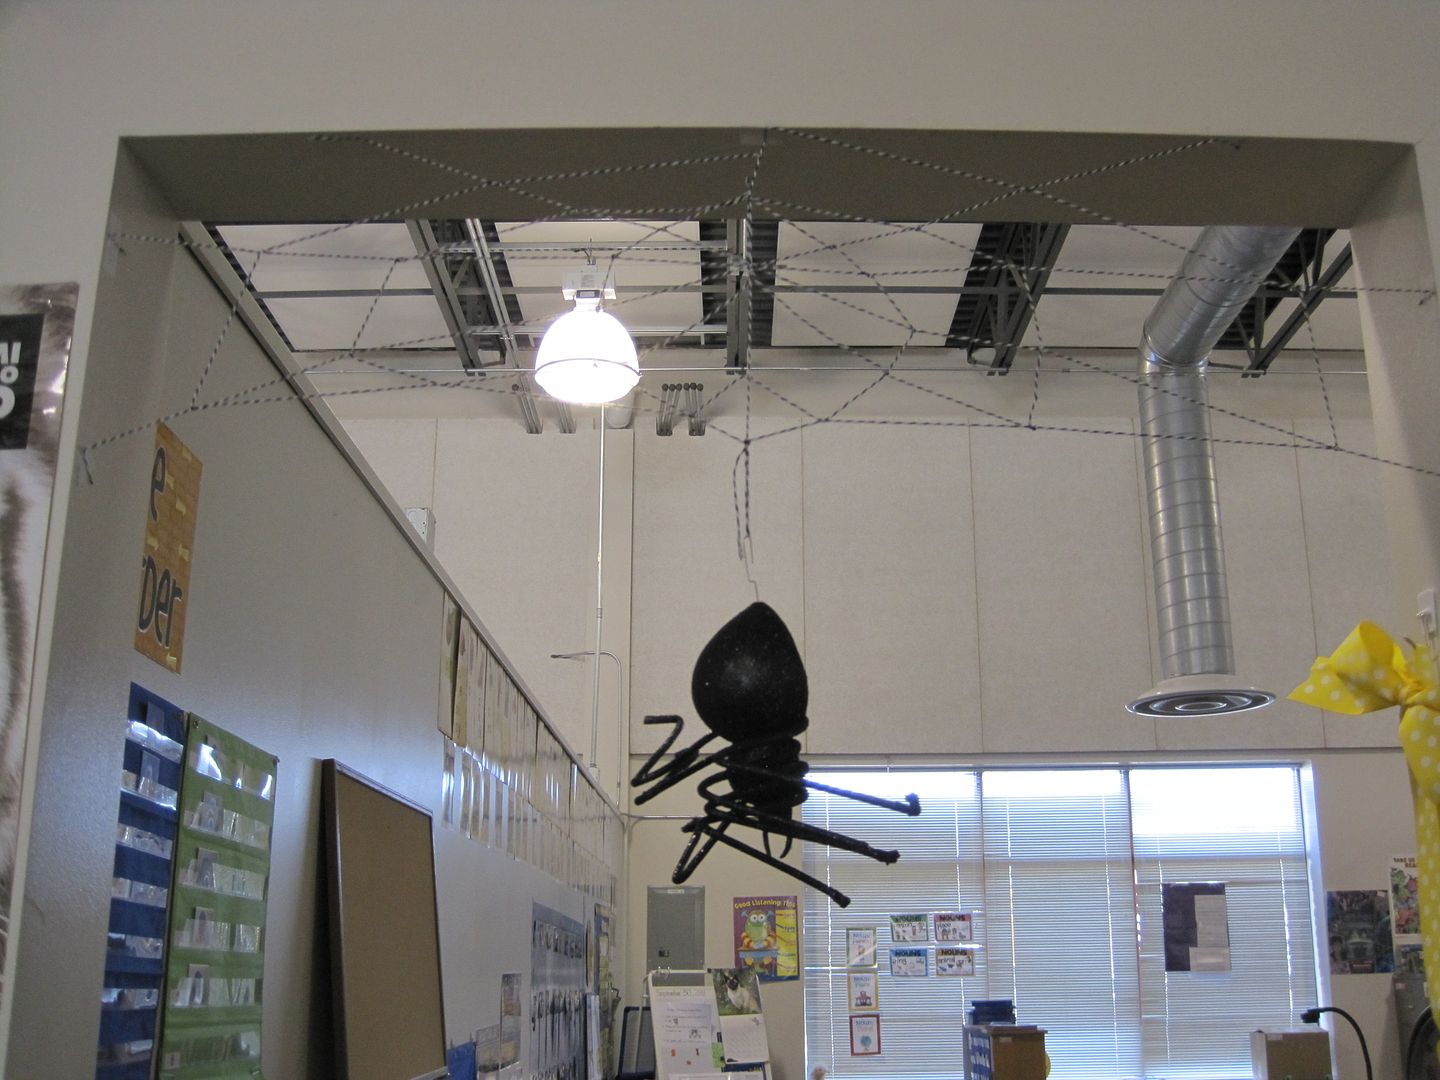
After constructing the web it was time to add the spider!


I just LOVED this, but unfortunately I had to remove the large spider. Some of the taller staff members at my school kept running into it. I am pretty short so I had no problem, but I also feared some students jumping up to tap the spider. :/

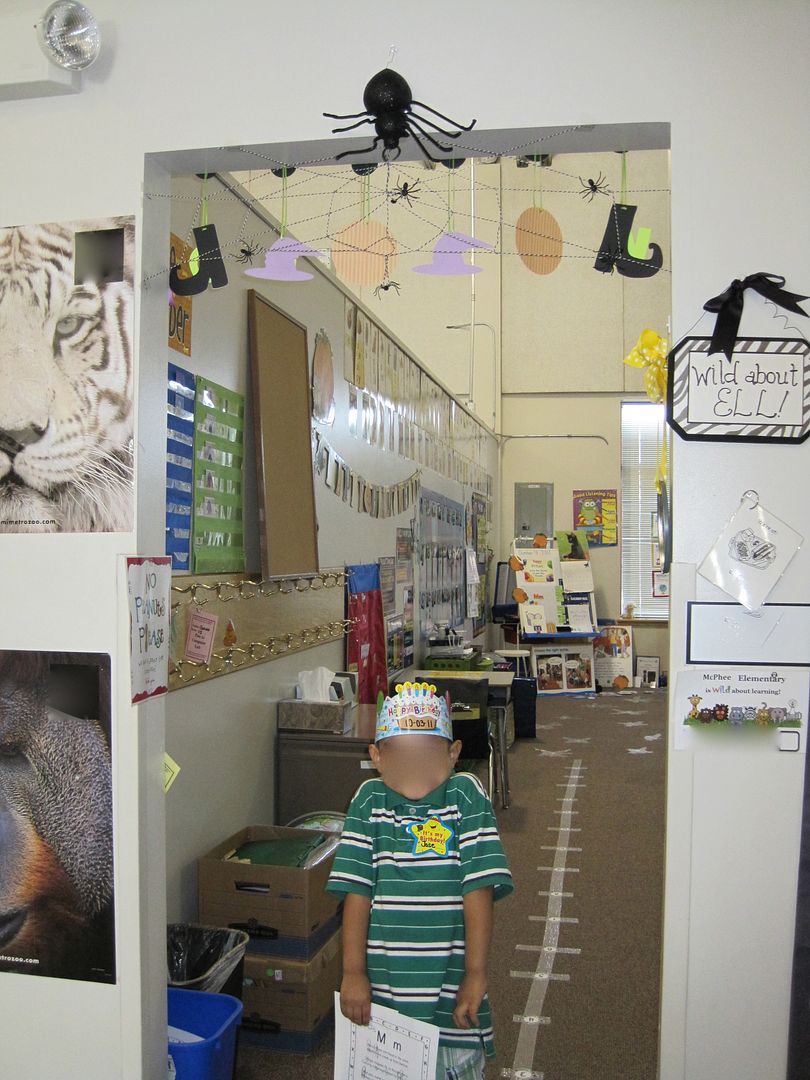
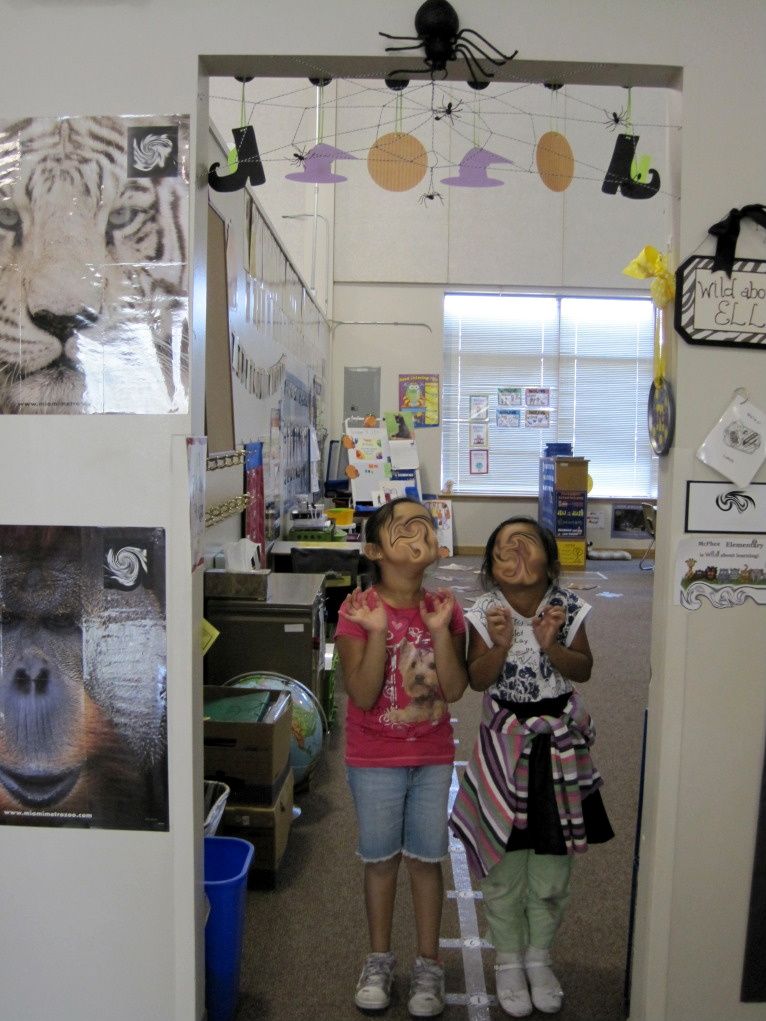
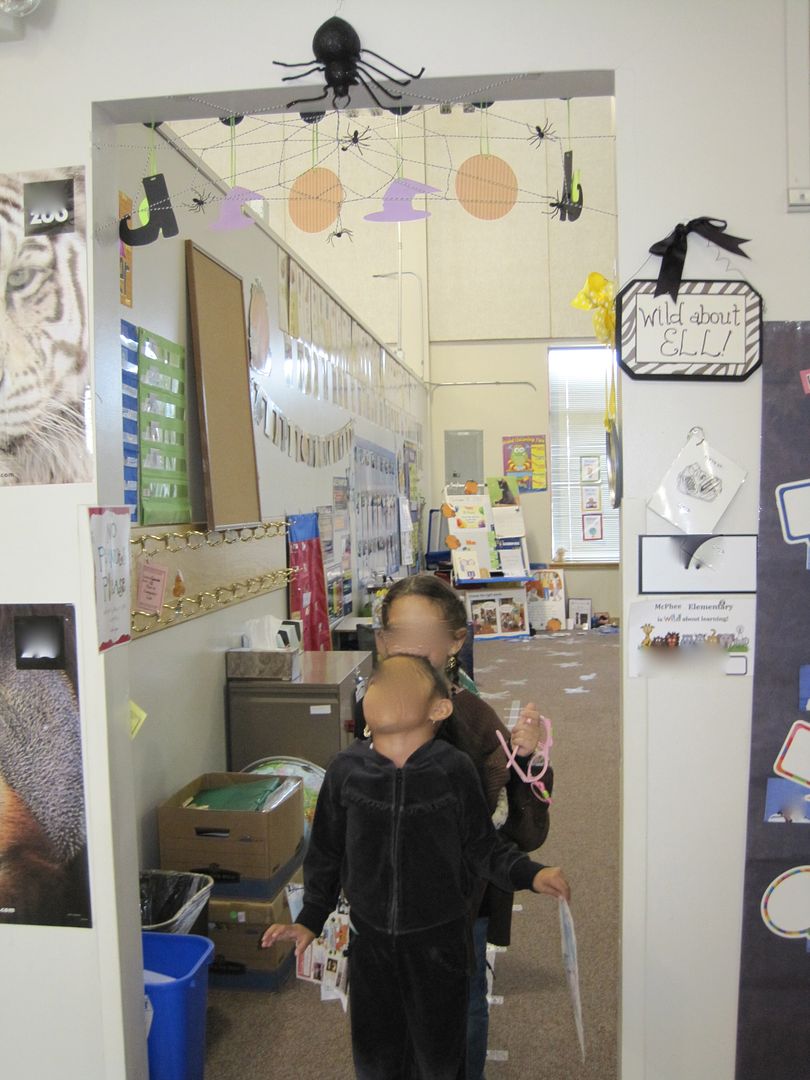
Here is what I came up with.


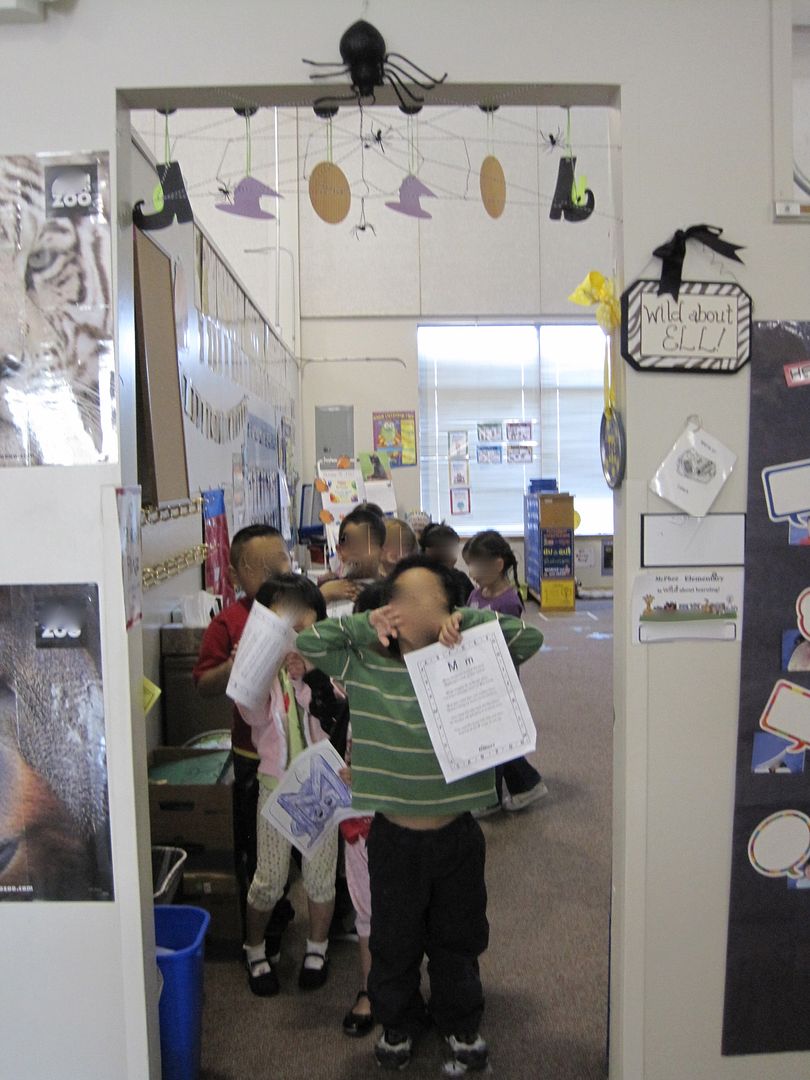
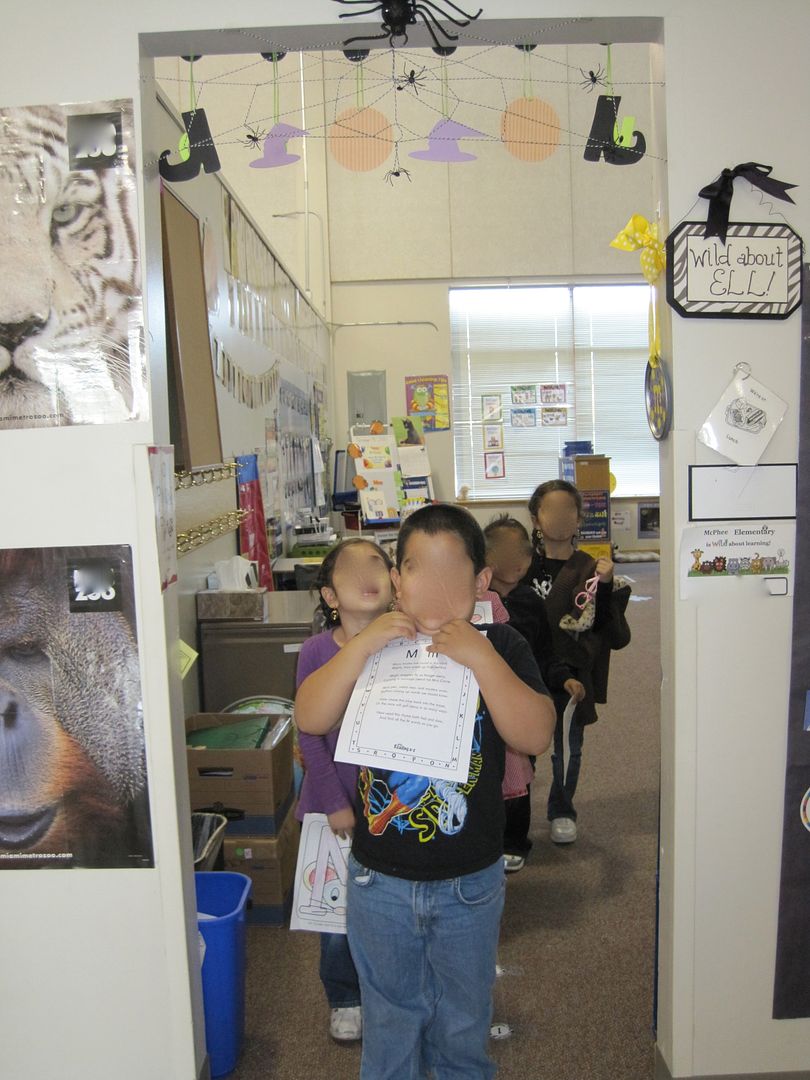
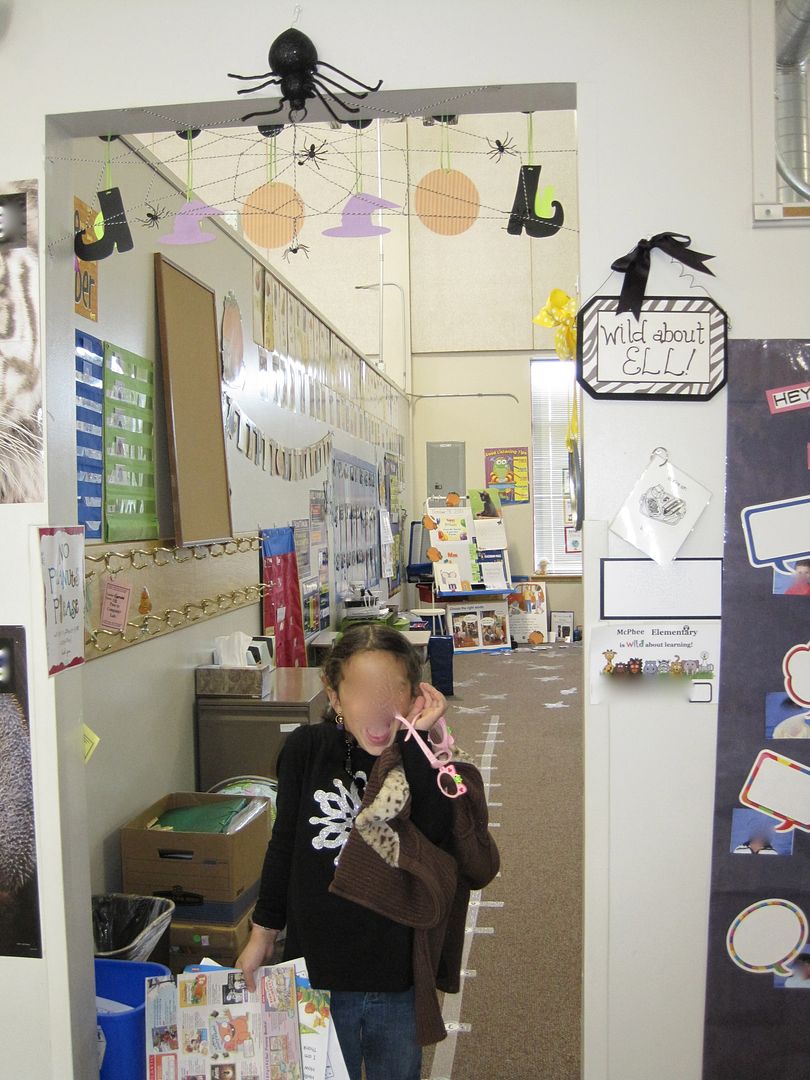
I added some small spiders to the web and placed the large spider at the top of the web as if it was coming down on to it. I love it! I like it more than the original design.

The best part is that the kids all thought it was real and asked me constantly until I stood on a chair and touched it. Here are some shots of them walking out of the room. I had to blur their faces, but you could still see the expression in their bodies. Priceless.


Thanks for reading along. Feel free to check out some of my other projects over on my blog, by clicking on the button below. :)

Enjoy!

***Wow, Ms. M, that is one spooky & CUTE spider!  Thanks so much for sharing!  

Now, go visit her blog and see why we think she is spook-tacular!